

Table of Contents
What is ISO in Photography: Secret to Taking Amazing Photos in Any Light
ISO is one of the most important settings in digital photography, but it can also be one of the most confusing. What does ISO mean, and how does it affect your photos? How do you choose the right ISO for different situations? And what are the advantages and disadvantages of using high or low ISO values?
In this article, we will answer these questions and more. We will explain what ISO is, how it works, and how to use it to achieve the best results in your photography. We will also give you some tips and tricks to avoid common problems with ISO, such as noise and grain. By the end of this article, you will have a better understanding of ISO and how to use it effectively for your photography.
What is ISO?
ISO stands for International Organization for Standardization, which is an organization that sets standards for various fields and industries. In photography, ISO refers to the sensitivity of the camera sensor to light. The higher the ISO number, the more sensitive the sensor is, and the brighter the image will be. The lower the ISO number, the less sensitive the sensor is, and the darker the image will be.
ISO is one of the three pillars of exposure in photography, along with aperture and shutter speed. Aperture controls how much light enters the lens, shutter speed controls how long the light hits the sensor, and ISO controls how much the sensor amplifies the light. By adjusting these three settings, you can control how bright or dark your photo will be.
Why is ISO Important?

ISO is important because it allows you to adjust the brightness of your photo without changing the aperture or shutter speed. This can be useful in different situations, such as:
- When you are shooting in low-light conditions, such as indoors or at night, and you need more light to capture a clear image.
- When you are shooting fast-moving subjects, such as sports or wildlife, and you need a fast shutter speed to freeze the motion.
- When you are shooting with a tripod, and you want to use a slow shutter speed to create motion blur or capture long exposures.
- When you are shooting with a specific aperture, such as a wide aperture for shallow depth of field or a narrow aperture for sharpness and depth of field.
By changing the ISO, you can achieve the desired exposure without compromising the other settings. For example, if you are shooting in low light and you want to use a wide aperture for shallow depth of field, you can increase the ISO to make the image brighter without changing the aperture. Or if you are shooting with a tripod and you want to use a slow shutter speed for motion blur, you can decrease the ISO to make the image darker without changing the shutter speed.
How to Choose the Right ISO
Choosing the right ISO depends on several factors, such as:
- The available light
- The desired effect
- The camera capabilities
- The image quality
As a general rule, you should use the lowest possible ISO that gives you a good exposure. This is because lower ISO values produce cleaner and sharper images with less noise and grain. Noise and grain are unwanted artifacts that appear as random specks or blotches of color or brightness in your photos. They reduce the detail and clarity of your images, and they become more noticeable when you zoom in or print your photos.
However, sometimes you may need to use higher ISO values to get a good exposure or achieve a certain effect. For example, if you are shooting in very low light and you cannot use a flash or a tripod, you may need to increase the ISO to avoid blurry photos due to camera shake or subject movement. Or if you are shooting fast-moving subjects and you want to freeze their motion, you may need to increase the ISO to use a faster shutter speed.
The key is to find a balance between brightness and quality. You want to use an ISO that gives you enough light without introducing too much noise or grain. This may require some trial and error, as different cameras have different capabilities and limitations when it comes to ISO performance. Some cameras can handle higher ISO values better than others, while some cameras may have more noise or grain at lower ISO values than others.
To find out how your camera performs at different ISO values, you can do some tests by taking photos of the same scene at different ISO settings and comparing them on your computer screen or on prints. You can also check online reviews or sample images of your camera model to see how it handles noise and grain at different ISO values.
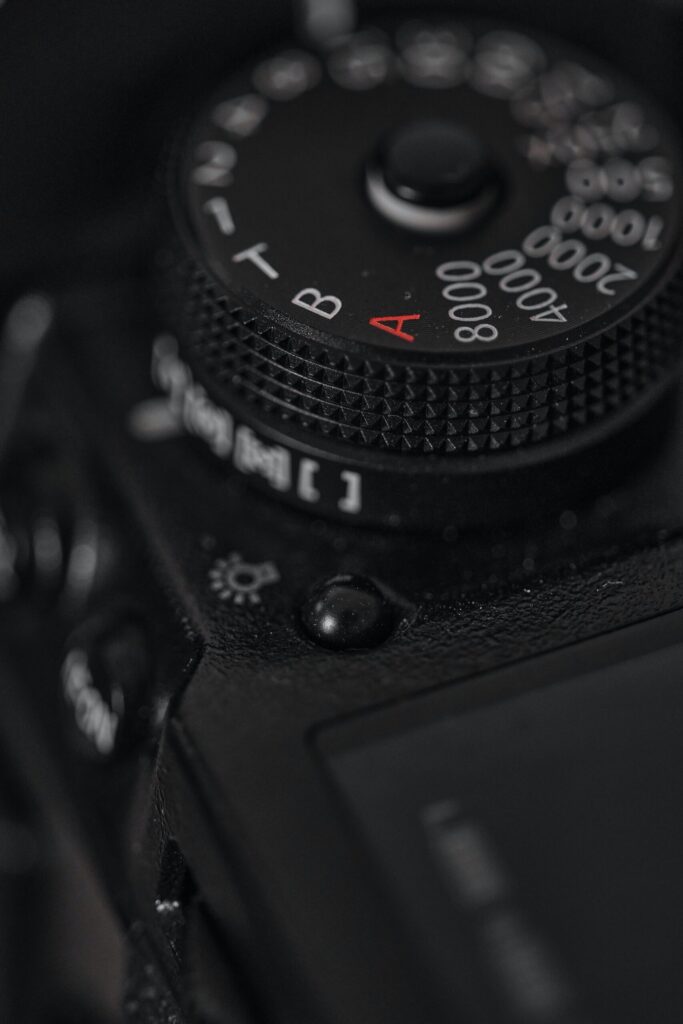
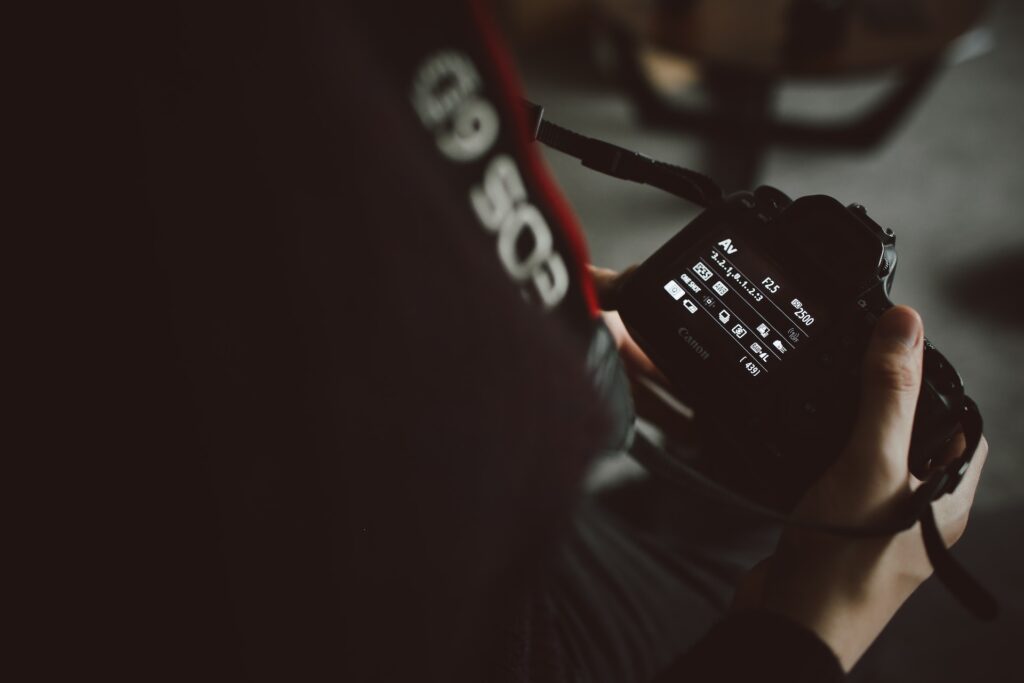
How to Change ISO
Changing ISO is usually very easy on most digital cameras. There are different ways to do it depending on your camera model and mode. Here are some common methods:
- Using a dedicated button: Some cameras have a button labeled “ISO” that allows you to change the ISO directly by pressing it and rotating a dial or using arrow keys.
- Using a menu: Some cameras have an option to change the ISO in the menu system, which you can access by pressing a button labeled “Menu” or “Fn” and navigating to the ISO setting.
- Using a mode dial: Some cameras have a mode dial that allows you to select different shooting modes, such as Auto, Program, Aperture Priority, Shutter Priority, or Manual. Some of these modes may allow you to change the ISO manually, while others may adjust it automatically for you.
To find out how to change the ISO on your camera, you can consult your camera manual or look online for tutorials or videos.
Tips and Tricks for Using ISO Effectively
Here are some tips and tricks to help you use ISO effectively for your photography:
- Use Auto ISO: If you are not sure what ISO to use, or if you are shooting in changing light conditions, you can use the Auto ISO feature on your camera. This feature allows the camera to adjust the ISO automatically for you based on the light and the other settings. You can also set a maximum limit for the Auto ISO, so that the camera does not go beyond a certain ISO value that you are comfortable with.
- Use Exposure Compensation: If you are using Auto ISO or a semi-automatic mode, such as Aperture Priority or Shutter Priority, you can use the Exposure Compensation feature on your camera to fine-tune the brightness of your photo. This feature allows you to make your photo brighter or darker by adjusting a scale that ranges from -3 to +3 stops. For example, if your photo is too dark, you can increase the exposure compensation by +1 stop to make it brighter. Or if your photo is too bright, you can decrease the exposure compensation by -1 stop to make it darker.
- Use Histogram: If you want to check the exposure of your photo more accurately, you can use the Histogram feature on your camera. This feature shows you a graph that represents the distribution of tones in your photo, from dark to light. The left side of the graph represents the shadows, the middle represents the midtones, and the right side represents the highlights. Ideally, you want to have a balanced histogram that does not have any spikes or gaps on either end. This means that your photo has a good exposure with enough detail and contrast in both the shadows and the highlights. If your histogram is skewed to the left, it means that your photo is underexposed and too dark. If your histogram is skewed to the right, it means that your photo is overexposed and too bright.
- Use Noise Reduction: If you are using high ISO values and your photos have too much noise or grain, you can use the Noise Reduction feature on your camera or on your editing software. This feature reduces the appearance of noise or grain by smoothing out the pixels in your photos. However, be careful not to overdo it, as too much noise reduction can also reduce the detail and sharpness of your photos.
Summary
ISO is one of the most important settings in digital photography, as it controls how sensitive your camera sensor is to light. By changing the ISO, you can adjust the brightness of your photo without changing the aperture or shutter speed. However, using higher ISO values also introduces more noise or grain in your photos, which can reduce their quality and detail.
Here are some key points to remember when using ISO:
- Use the lowest possible ISO that gives you a good exposure
- Use higher ISO values when you need more light or a faster shutter speed
- Find a balance between brightness and quality
- Use Auto ISO, Exposure Compensation, Histogram, and Noise Reduction to fine-tune your exposure and reduce noise or grain in the photograph.