

Table of Contents
Photography is often described as both an art and a science. While the technical side focuses on cameras, lenses, and settings, the artistic side depends on vision, timing, and emotion. To balance both, photographers often rely on what are known as the classic rules of photography.
These rules have guided generations of photographers, from photojournalists capturing history to hobbyists framing family memories. They are called “classic” because they have stood the test of time, proving their effectiveness in producing images that appeal to the human eye.
This blog post explores the five classic rules of photography in detail. You will learn not only what these rules are but also why they work and when it’s okay to break them. By the end, you will understand how to use these principles to make your photos more compelling and professional-looking.
What Is the First Rule of Photography and Why Does It Matter? Rules of Photography
The first rule of photography is simple yet powerful: “f/8 and be there.” At first glance, it seems technical, but its deeper meaning is not about camera settings—it is about presence.
The phrase suggests that while settings like f/8 (a mid-range aperture) provide a safe focus depth, the real secret is simply showing up. You cannot capture a breathtaking sunrise, an emotional wedding vow, or a fleeting smile if you are not there with your camera.
In other words, this rule is about dedication and effort. A lazy but talented photographer will likely produce fewer memorable images than a less talented but determined one. Photography rewards persistence—whether that means waking up at dawn, waiting in the cold for wildlife, or walking an extra mile for the perfect angle.
| Aspect | Technical Value | Deeper Message |
|---|---|---|
| f/8 Aperture | Standard sharpness, wide focus range | Safe setting for most conditions |
| “Be There” | Presence at the scene | Effort matters more than gear |
This rule has been central in photojournalism but applies equally to landscapes, portraits, and personal photography. The simple act of being present, ready, and observant often matters more than expensive equipment.
What Is the Decisive Moment in Photography?
Coined by the legendary Henri Cartier-Bresson, the decisive moment is about pressing the shutter at the exact instant when all elements align. It is the difference between a good photo and a timeless one.
The decisive moment is not about luck—it is about anticipation. Photographers must observe carefully, predict what will happen, and act quickly. For example, in street photography, a child might jump over a puddle. One second too early or late, and the magic is lost. But captured at the perfect moment, the photo tells a powerful story.
Sports photography often contains decisive moments, but Cartier-Bresson emphasized everyday life. He believed real power lies in capturing slices of reality—a kiss, a protest, a soldier’s last breath. The beauty is that photography freezes these fleeting instants forever.
| Key Element | Explanation | Example |
|---|---|---|
| Timing | Pressing shutter at exact instant | A jump, a laugh, a kiss |
| Observation | Reading body language and surroundings | Anticipating a smile before it happens |
| Storytelling | Creating meaning in a single frame | A protester raising a fist |
For beginners, this rule encourages patience and attentiveness. Think before and after you shoot, not while. Stay alert, and you’ll recognize decisive moments more often.
Why Should Photographers Get Closer to Their Subjects?
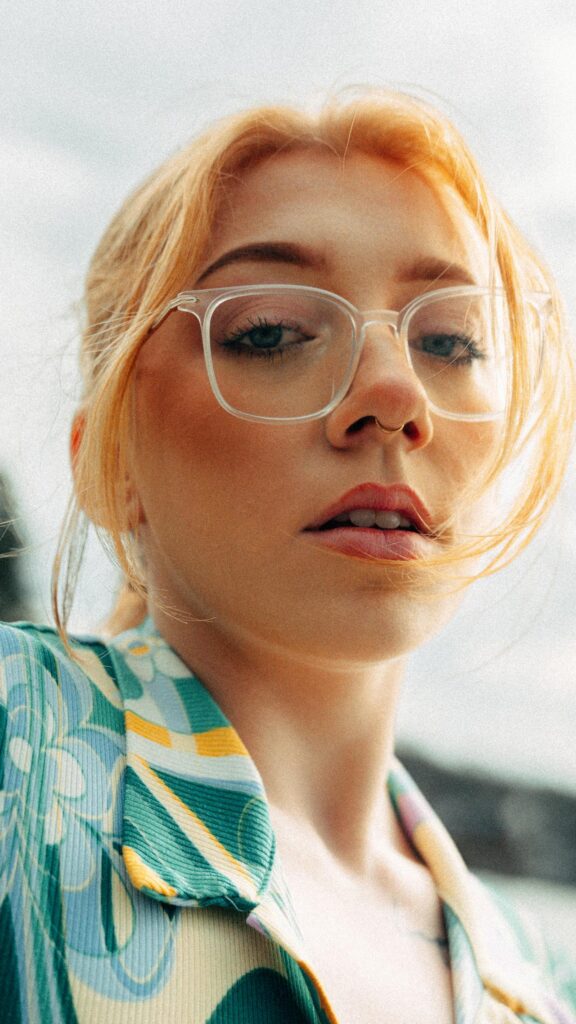
Robert Capa, another photography legend, famously said: “If your pictures aren’t good enough, you’re not close enough.” This rule pushes photographers to reduce distance, both physically and emotionally, from their subjects.
Getting closer creates intimacy. A photo of a child playing across the street may be cute, but a close-up of their laughter reveals emotion. Similarly, close portraits reveal details—wrinkles, tears, smiles—that tell deeper stories.
This rule does not only apply to people. In everyday life photography, getting closer to food, textures, or architecture highlights details viewers often overlook. Wide shots capture context, but close shots capture essence.
| Distance | Effect | Professional Advice |
|---|---|---|
| Far away | Distant, less emotional | Good for landscapes and architecture |
| Close | Intimate, detailed, powerful | Use wide-angle lens for openness |
| Too close | Can invade privacy | Approach respectfully, especially with people |
Of course, closeness is not always possible. Wildlife photographers, for instance, rely on telephoto lenses. But even then, the principle remains: aim for connection, not just documentation.
How Does the Rule of Thirds Enhance Composition?
One of the most widely known principles in art, the rule of thirds states that subjects should not sit in the center of a frame. Instead, divide your frame into nine equal parts using two vertical and two horizontal lines. Place your subject along these lines or at their intersections.
This creates balance and guides the viewer’s eyes naturally across the image. For example, a horizon placed at the bottom third emphasizes the sky, while a horizon at the top third emphasizes the land.
The rule is ancient—painters used it for centuries. It works because human eyes naturally prefer asymmetry when it feels deliberate and balanced.
| Subject Placement | Resulting Effect | Example |
|---|---|---|
| Center | Static, less dynamic | Passport photos, ID shots |
| Left third | Balanced, engaging | A tree in a field |
| Top third | Sky emphasis | Sunset photos |
| Bottom third | Land emphasis | Mountain landscapes |
Interestingly, this is a rule meant to be broken once you master it. Sometimes symmetry creates powerful images—like a reflection in water. But until you know why you’re breaking it, sticking to the rule of thirds ensures consistently appealing compositions.
Why Is Lighting Considered the Soul of Photography?
Photography literally means “drawing with light.” Without light, there is no photo. The classic rule of lighting suggests using soft, natural light whenever possible—especially during the golden hours (sunrise and sunset).
Golden hour light creates warmth, depth, and soft shadows. It turns ordinary landscapes into magical scenes and flat portraits into glowing works of art. Similarly, the blue hour (just before sunrise and after sunset) adds cool, moody tones perfect for dramatic shots.
Indoors, you can mimic soft light using windows. Position your subject near a large window with indirect sunlight for natural, flattering illumination. Photographers without access to good natural light can use reflectors, diffusers, or studio setups to achieve similar effects.
| Light Type | Effect | Best Use |
|---|---|---|
| Golden Hour | Warm, soft, romantic | Landscapes, portraits |
| Blue Hour | Cool, dramatic | Cityscapes, moody photos |
| Midday Sun | Harsh, strong shadows | Avoid unless intentional |
| Window Light | Soft, controlled | Indoor portraits |
Remember, light creates mood. A well-lit subject draws attention, while poor lighting can ruin even the most perfectly composed photo.
Summary: Key Classic Photography Rules to Remember
- f/8 and be there: Presence and effort matter more than technical perfection.
- The decisive moment: Anticipate and capture the instant when elements align.
- Get closer: Intimacy and detail create emotional impact.
- Rule of thirds: Place subjects off-center for balance and visual interest.
- Lighting: Use golden hours and soft light for mood and beauty.
These rules are not unbreakable laws. Many iconic photos break them. However, learning them provides a strong foundation. Once you understand why they work, you can confidently bend or break them to create your unique photographic voice.