Table of Contents
10 Top Tips for Shooting in Cold Weather: Winter Photography Tips and Ideas
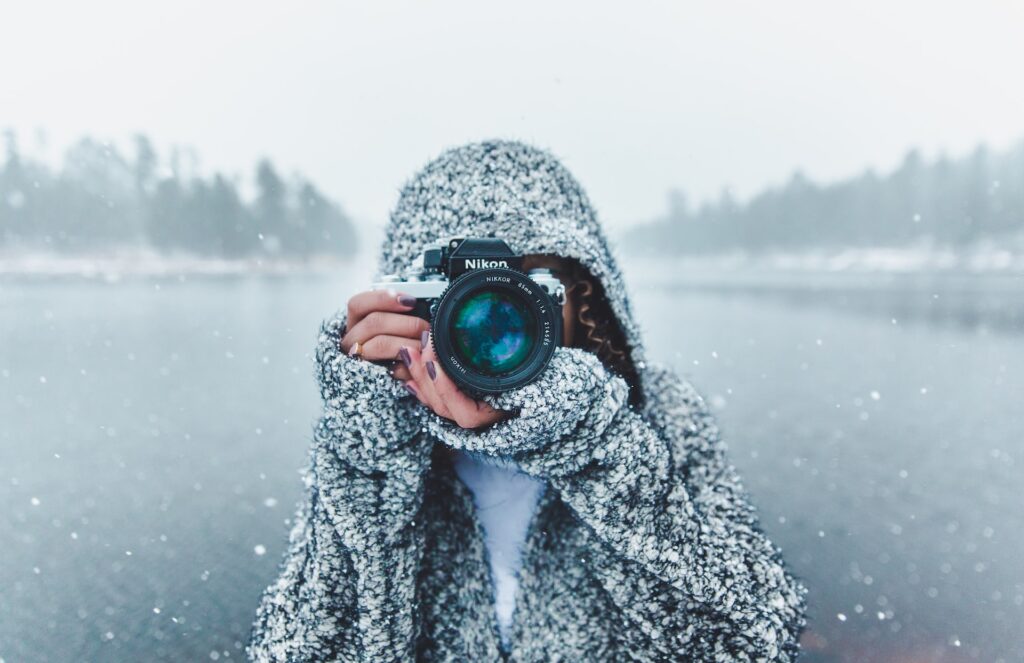
Winter is a great season for photography, especially if you love landscape and wildlife photography. The snow, ice, and frost create a magical atmosphere and transform the scenery into a winter wonderland. The low sun, the long shadows, and the blue skies add drama and contrast to your images. And the winter wildlife, such as birds, deer, and foxes, offer amazing opportunities for capturing their beauty and behavior.
But winter photography also comes with some challenges. The cold weather can affect your camera and lens performance, your battery life, and your comfort. The snow and ice can cause exposure problems, glare, and condensation. And the winter conditions can be unpredictable and change rapidly.
So how can you overcome these challenges and get the best out of your winter photography? In this article, I will share with you 10 easy steps that can help you improve your winter photography skills and enjoy this wonderful time of the year. These steps are based on my own experience as a landscape photographer, as well as some pro tips from other experts in the field. By following these steps, you will be able to take stunning photos during winter, whether you are shooting landscapes, wildlife, portraits, or action.
Step 1: Keep Your Camera and Lens Close to Your Body | Winter Photography Tips
One of the most important winter photography tips is to keep your camera and lens close to your body when you are not using them. This will prevent them from getting too cold and losing battery power. Cold temperatures can reduce your battery life significantly, so you want to keep them warm as much as possible.
Another reason to keep your camera and lens close to your body is to avoid condensation. Condensation occurs when you move your camera from a cold environment to a warm one, such as from outside to inside a car or a house. The moisture in the air can form droplets on your lens and inside your camera, which can damage your equipment and ruin your photos.
To prevent condensation, you should always keep your camera in a sealed plastic bag before bringing it indoors. This will allow the temperature of your camera to adjust gradually without forming condensation. You should also wait for at least an hour before taking your camera out of the bag and using it again.
Step 2: Use a Waterproof Camera Bag

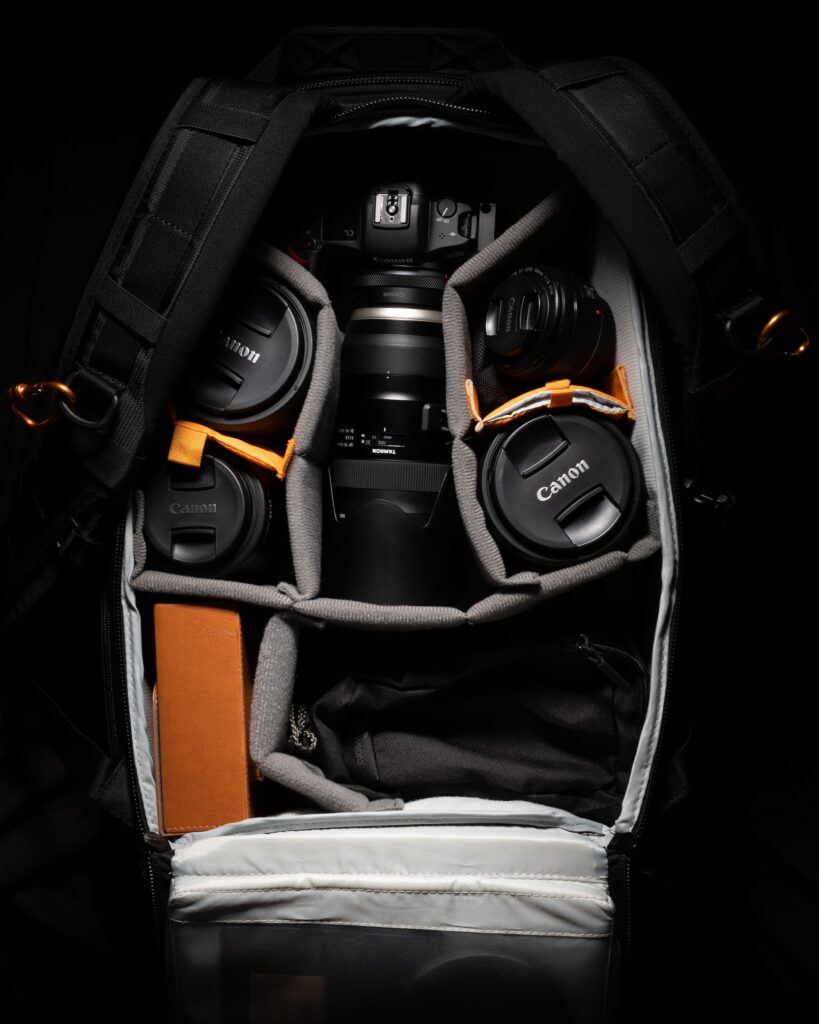
Another way to protect your camera and lens from the cold weather is to use a waterproof camera bag. A waterproof bag will not only keep your equipment dry from snow, rain, or sleet, but also provide some insulation from the cold.
A waterproof bag will also help you carry your equipment more comfortably and safely. You don’t want to slip and fall on the ice or snow while holding your camera in your hands. A waterproof bag will allow you to strap your camera securely on your back or shoulder, leaving your hands free for balance and stability.
You should also make sure that your bag has enough space for extra batteries, memory cards, filters, cleaning tools, and other accessories that you might need for your winter photography session.
Step 3: Wear Photography Gloves | Winter Photography Tips

One of the biggest challenges of winter photography is keeping your hands warm and functional. You need to be able to operate your camera settings, change lenses, use filters, and press the shutter button without freezing your fingers.
The best solution for this is to wear photography gloves. Photography gloves are specially designed gloves that have removable fingertips or flaps that allow you to access your camera controls without exposing your fingers to the cold. They also have rubberized grips or patches that prevent your camera from slipping from your hands.
Photography gloves come in different sizes, materials, styles, and prices. You should choose the ones that fit you well, keep you warm enough, and suit your style of photography. Some photographers prefer to wear two pairs of gloves: a thin pair underneath a thicker pair. This way, they can remove the thicker pair when they need more dexterity and sensitivity.
Step 4: Use a Tripod | Winter Photography Tips

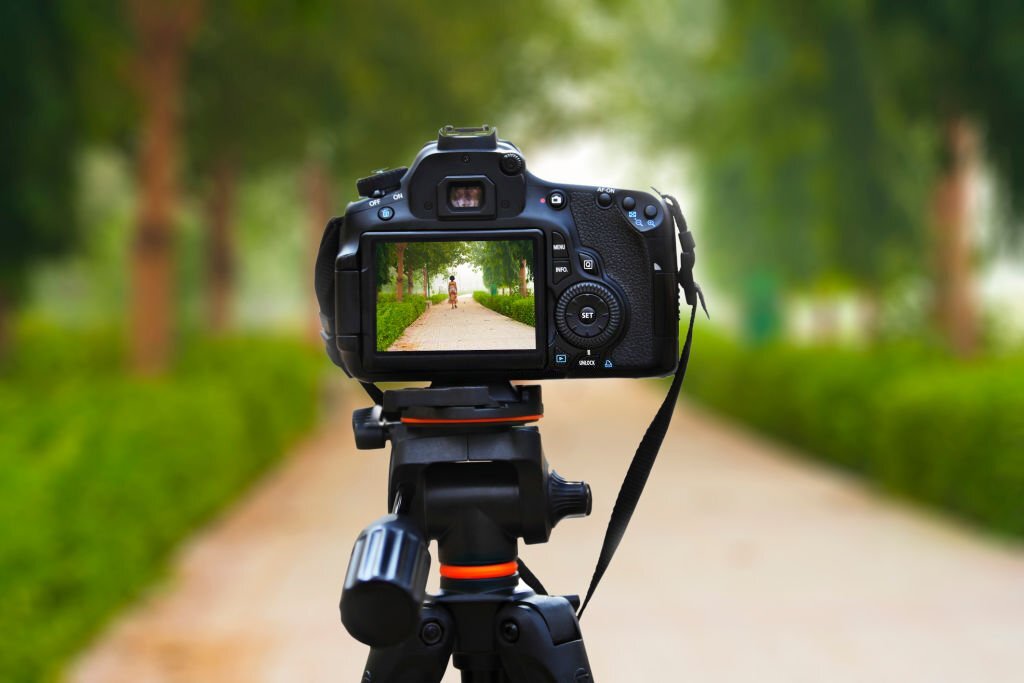
A tripod is an essential tool for any photographer, but especially for winter photography. A tripod will help you stabilize your camera and get sharper images in low light conditions. It will also allow you to use slower shutter speeds for creative effects such as blurring motion or creating light trails.
A tripod will also help you compose your shots more carefully and accurately. You can take your time to adjust your angle, perspective, horizon line, focus point, exposure settings, and filters without worrying about camera shake or hand fatigue.
When choosing a tripod for winter photography, you should consider its weight, height, stability, durability, and ease of use. You want a tripod that is light enough to carry around but sturdy enough to support your camera and lens. You also want a tripod that is tall enough to match your eye level but short enough to fit in your bag. You also want a tripod that is stable enough to withstand wind gusts but flexible enough to adjust to uneven terrain. You also want a tripod that is durable enough to resist corrosion and rust but easy enough to set up and fold down.
Step 5: Overexpose Your Images | Winter Photography Tips
One of the most common problems of winter photography is getting the right exposure. The snow and ice can fool your camera’s metering system and make your images look too dark or too blue. This is because your camera assumes that the scene is 18% gray, which is the average brightness of most scenes. But snow and ice are much brighter than that, so your camera will underexpose your images to compensate.
To fix this problem, you need to overexpose your images by using exposure compensation or shooting in manual mode. Exposure compensation is a feature that allows you to adjust the exposure of your images by adding or subtracting stops of light. Shooting in manual mode is a mode that allows you to control the aperture, shutter speed, and ISO of your camera independently.
The amount of overexposure you need depends on the amount of snow and ice in your scene, the time of the day, and the weather conditions. A good rule of thumb is to start with +1 stop of exposure compensation or manual exposure and check your histogram and LCD screen for the results. You want to make sure that your highlights are not clipped or blown out, but also that your shadows are not too dark or noisy.
Step 6: Shoot in RAW Format | Winter Photography Tips
Another way to improve your winter photography is to shoot in RAW format. RAW format is a file format that captures all the data from your camera sensor without any compression or processing. This gives you more flexibility and control over your images in post-processing.
Shooting in RAW format will allow you to adjust the white balance, exposure, contrast, saturation, sharpness, noise reduction, and other settings of your images without losing any quality or detail. You can also recover some of the highlights and shadows that might be lost in JPEG format.
Shooting in RAW format will also allow you to correct any color casts or tints that might occur due to the snow and ice reflecting different colors of light. You can use a gray card, a white card, or a custom white balance setting to get the most accurate colors for your scene.
Shooting in RAW format will require more memory space and processing time than JPEG format, so you should make sure that you have enough memory cards and battery power for your winter photography session. You should also use a good photo editing software such as Adobe Lightroom or Photoshop to process your RAW files.
Step 7: Use a Polarizing Filter | Winter Photography Tips

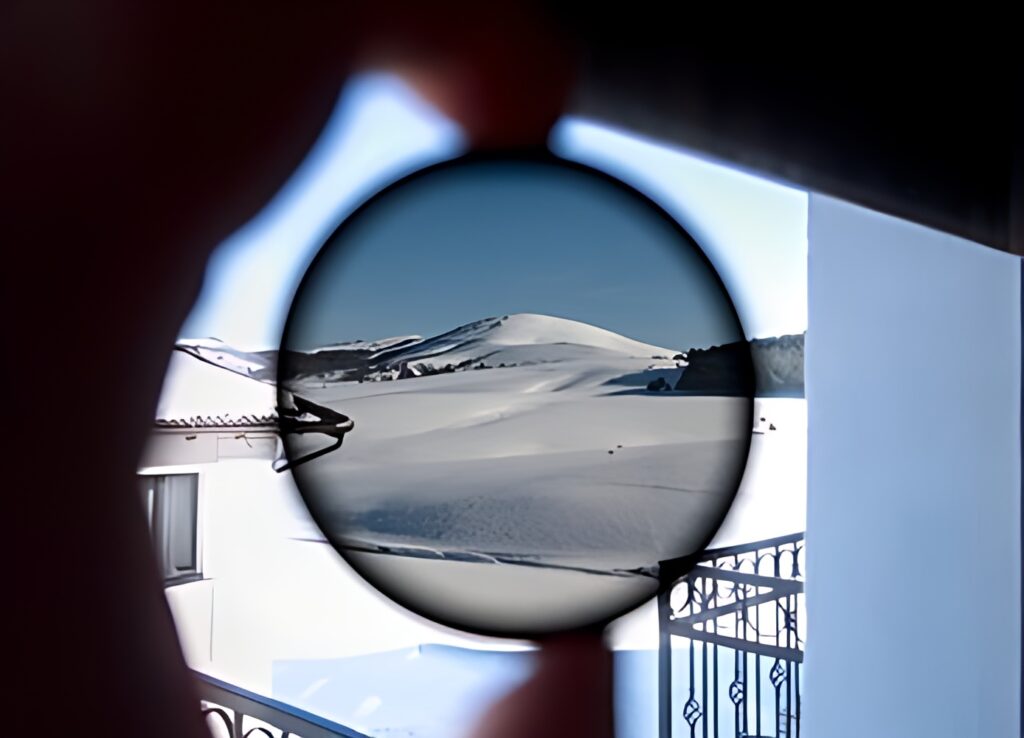
A polarizing filter is a filter that reduces reflections and glare from shiny surfaces such as water, glass, metal, and snow. It also enhances colors and contrast by darkening the sky and making the clouds pop out.
A polarizing filter is very useful for winter photography because it can help you eliminate or reduce the glare from the snow and ice, which can cause overexposure and loss of detail. It can also help you bring out the textures and patterns of the snow and ice, which can add interest and depth to your images.
To use a polarizing filter, you need to attach it to the front of your lens and rotate it until you get the desired effect. You should also be aware that a polarizing filter will reduce the amount of light entering your lens by about 1-2 stops, so you might need to adjust your exposure settings accordingly. You should also avoid using a polarizing filter when shooting at wide angles or with wide-angle lenses, as it can cause uneven polarization and dark corners in your images.
Step 8: Shoot in Black and White | Winter Photography Tips
Another creative option for winter photography is to shoot in black and white. Black and white photography can create a dramatic and timeless look for your images by emphasizing shapes, lines, textures, contrasts, and tones.
Black and white photography can also help you overcome some of the challenges of winter photography such as exposure problems, color casts, and lack of color variety. By removing color from your images, you can focus more on the light, shadows, forms, and details of your scene.
You can shoot in black and white by using a black and white mode or setting on your camera, or by converting your color images to black and white in post-processing. You can also use filters such as red, yellow, orange, or green filters to enhance certain tones or elements in your scene. For example, a red filter can darken the sky and make the clouds stand out more.
Step 9: Experiment with Different Styles of Photography
Winter photography is not limited to landscape photography. You can also experiment with different styles of photography such as portrait photography, macro photography, action photography, long exposure photography, or night photography.
Portrait photography is a style of photography that focuses on capturing the personality and expression of a person or a group of people. Winter portrait photography can be very fun and rewarding because you can use the snow and ice as props or backgrounds for your subjects. You can also use accessories such as hats, scarves, gloves, or jackets to add some color and warmth to your images. You should also use a wide aperture to create a shallow depth of field and blur the background, and a fast shutter speed to freeze the motion and avoid camera shake.
Macro photography is a style of photography that focuses on capturing small objects or details at a close distance. Winter macro photography can be very fascinating and rewarding because you can discover the beauty and intricacy of snowflakes, ice crystals, frozen plants, or insects. You can use a macro lens or a close-up filter to magnify your subject and reveal its details, and a tripod to stabilize your camera and avoid blur. You should also use a small aperture to increase the depth of field and keep your subject in focus, and a flash or a reflector to add some light and contrast to your images.
Action photography is a style of photography that focuses on capturing fast-moving subjects or events. Winter action photography can be very exciting and challenging because you can capture the thrill and energy of winter sports, activities, or festivals. You can use a telephoto lens or a zoom lens to get closer to your action and isolate your subject from the background, and a fast shutter speed to freeze the motion and avoid blur. You should also use a continuous shooting mode or a burst mode to take multiple shots in succession and increase your chances of getting the perfect shot.
Long exposure photography is a style of photography that uses long shutter speeds to create motion blur or light trails in your images. Winter long exposure photography can be very creative and artistic because you can capture the movement and mood of winter scenes such as waterfalls, rivers, lakes, stars, or city lights. You can use a neutral density filter or a polarizing filter to reduce the amount of light entering your lens and allow you to use longer shutter speeds without overexposing your images, and a tripod to stabilize your camera and avoid camera shake. You should also use a remote shutter release or a self-timer to trigger your shutter without touching your camera and causing vibration.
Night photography is a style of photography that takes place in low-light conditions or after dark. Winter night photography can be very spectacular and mesmerizing because you can capture the beauty and mystery of winter nights such as moonlit landscapes, northern lights, fireworks, or lanterns. You can use a wide-angle lens or a fisheye lens to capture more of the scene and create a sense of depth and perspective, and a high ISO setting to increase the sensitivity of your sensor and capture more light. You should also use a long shutter speed to expose your images properly and create stunning effects, and a tripod to stabilize your camera and avoid blur.
Step 10: Have Fun and Be Creative | Winter Photography Tips
The last but not least step for winter photography is to have fun and be creative. Winter photography is not only about technical skills and equipment, but also about passion and imagination. You should enjoy the process of exploring, experimenting, learning, and creating.
You should also try to find your own style and voice as a photographer. You should not be afraid to break the rules, try new things, make mistakes, and learn from them. You should also not be afraid to express yourself, tell stories, share emotions, and inspire others.
Winter photography is a wonderful way to celebrate the beauty and diversity of nature, culture, and life. By following these 10 easy steps, you will be able to improve your winter photography skills and create amazing images that you will be proud of.
Summary | Winter Photography Tips
Here are some bullet points to summarize the most important things to remember for winter photography tips:
- Keep your camera and lens close to your body
- Use a waterproof camera bag
- Wear photography gloves
- Use a tripod
- Overexpose your images
- Shoot in RAW format
- Use a polarizing filter
- Shoot in black and white
- Experiment with different styles of photography
- Have fun and be creative
I hope you enjoyed this article on winter photography tips and ideas. If you have any questions or comments, please feel free to leave them below. Happy shooting!


