Table of Contents
How to Use Window Light for Stunning Portraits
Window light is a natural and beautiful source of light for portrait photography. It can create a dramatic and flattering effect on your subject’s face, especially when you use the Rembrandt lighting technique. In this article, I’ll show you how to use window light to add character and dimension to your portraits – Window Light Portraits.
What is Rembrandt Lighting? Window Light Portraits
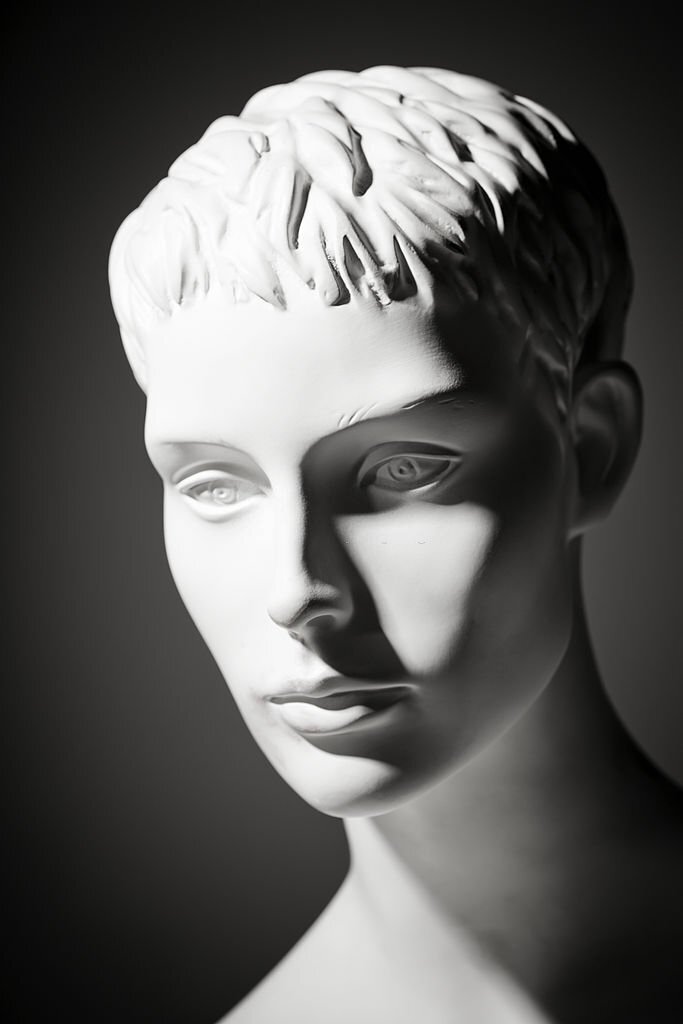
Rembrandt lighting is a style of lighting that creates a triangle of light on the shadow side of the face. It is named after the famous painter Rembrandt, who often used this technique in his portraits. Rembrandt lighting adds contrast and depth to the face, as well as a sense of mood and mystery.
You may also like Portrait Lighting Setup Demystified: A Masterclass in Portrait Photography

Why Use Window Light for Rembrandt Lighting?
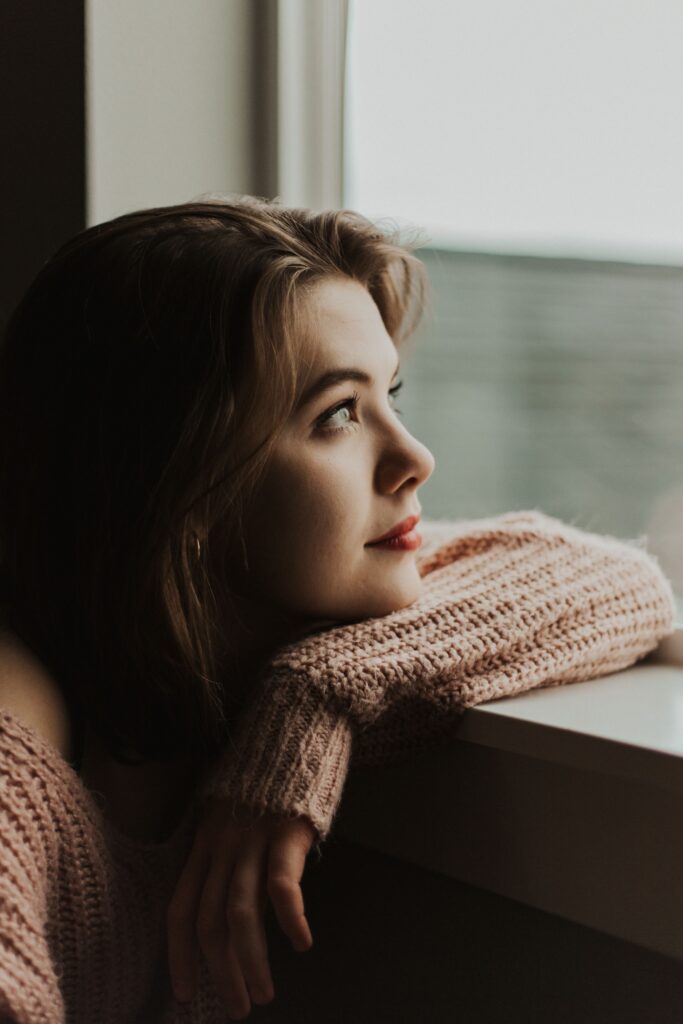
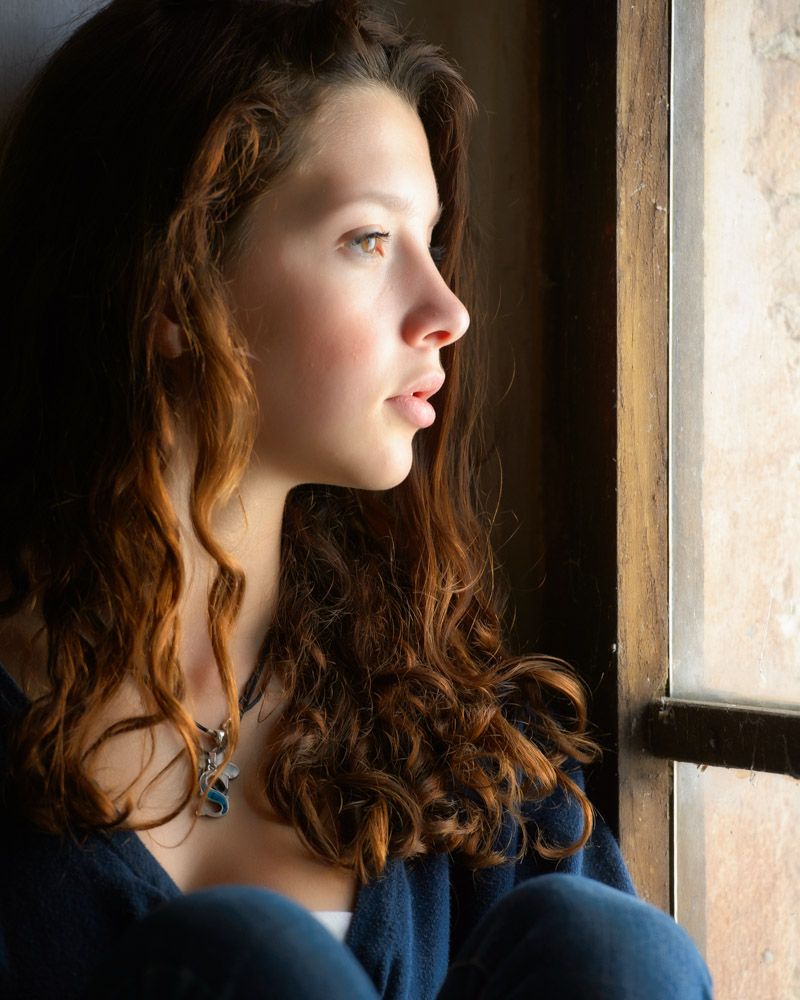
You can achieve Rembrandt lighting with artificial lights, such as flashes or strobes, but window light has some advantages. Window light is soft and diffuse, which means it wraps around the face and creates smooth transitions between light and shadow. Window light is also warm and natural, which gives a pleasing skin tone and a cozy atmosphere.

How to Set Up Window Light for Rembrandt Lighting?
To set up window light for Rembrandt lighting, you need a window that provides a soft and even light. This can be a north-facing window, a window on a cloudy day, or a window covered with sheer curtains or other diffusing material. You also need a chair for your subject to sit on, and a tripod for your camera.

Step 1: Position Your Subject Near the Window
Place the chair a few feet away from the window, so that the window is on the left side of your subject’s face. This will create a split lighting effect, where half of the face is lit and half is in shadow. This is not very flattering, but it’s a good starting point.

Step 2: Adjust Your Camera Settings
Mount your camera on a tripod and point it straight at your subject’s face. Zoom in or out until you fill the frame with the face. Set your camera to f8 and adjust your shutter speed until you get a good exposure. The lit side of the face should be well-exposed, while the shadow side should be dark but still show some details.
Step 3: Rotate Your Subject’s Head Toward the Window
Ask your subject to slowly turn their head toward the window, while keeping their head level and their eyes on the camera. As they do so, watch for a small triangle of light to appear on the shadow side of their cheek, just below their eye. This is caused by the nose casting a shadow that meets the corner of the mouth. When you see this triangle of light, ask your subject to stop. This is classic Rembrandt lighting.

Step 4: Fill in the Shadows (Optional)
If you find that the shadow side of the face is too dark, you can use a reflector or a white board to bounce some of the window light back into the shadows. Place it close to your subject on the right side of their face, and adjust it until you get the desired amount of fill light.

Conclusion
Window light is a great way to create stunning portraits with Rembrandt lighting. It gives your subject’s face contrast, depth, character, and mood. All you need is a window, a chair, a tripod, and some basic camera settings. Follow these steps and experiment with different angles and distances until you get the best results.

