Table of Contents
Portrait Lighting Setup Demystified: A Masterclass in Portrait Photography
In the realm of portrait photography, the skillful use of lighting patterns is the secret ingredient that elevates a good portrait to a stunning masterpiece. Light shapes our perception, emphasizing features, adding depth, and conveying emotions. This comprehensive guide unveils the captivating world of portrait lighting patterns, unlocking the secrets that every photographer should know. Join us on this enlightening journey through the art and science of portrait lighting.
Understanding the Essence: Light, Photography, and Portraiture
Before we dive into the intricacies of portrait lighting patterns, it’s essential to grasp the fundamental relationship between light, photography, and portraiture. Photography, essentially “writing with light,” relies on the interplay of light and shadows to create compelling visuals. In portraiture, the precise control and manipulation of this interplay are paramount.
The Building Blocks In Portrait Lighting Setup
What Defines a Great Portrait?
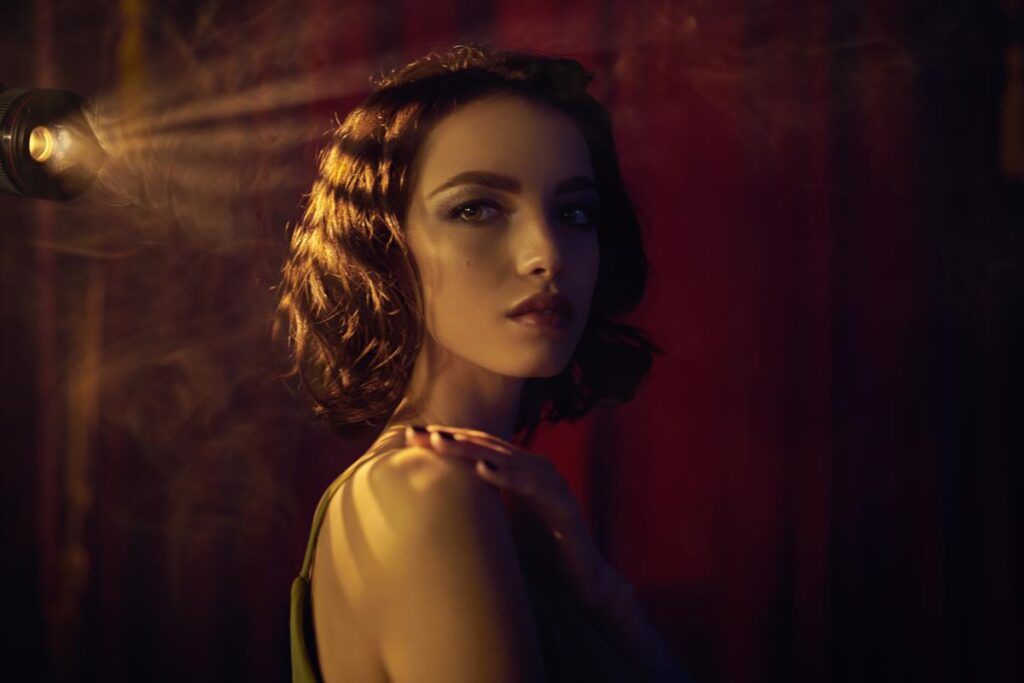
A great portrait is defined by several factors that come together to create a compelling and captivating image. Firstly, composition plays a vital role in capturing the subject’s essence and personality. An expertly composed portrait draws the viewer’s attention to the subject’s eyes, capturing their emotions and creating a sense of connection.
Secondly, lighting is crucial in highlighting the subject’s features and adding depth to the image. Whether it’s natural or artificial lighting, the photographer must master the techniques to create a flattering and aesthetically pleasing result. Additionally, a great portrait should reflect the uniqueness and individuality of the subject. The photographer must go beyond a simple representation and capture the essence of the person, their story, and their character.
Lastly, technical proficiency is paramount. A great portrait requires a skilled photographer who knows how to use their equipment effectively, make the right adjustments, and ensure the image is sharp and well-exposed. When all these elements come together, a great portrait is achieved, resonating with the viewer and leaving a lasting impression.
A great portrait is more than just a photograph; it’s a window into the soul of the subject.
Types of Light: Natural vs. Artificial
In portrait photography, light can manifest in various forms. Natural light, like sunlight, bestows a soft and flattering glow. Conversely, artificial light, such as studio strobes or continuous lighting, provides total control over illumination. Depending on your creative vision and the setting, you can choose one or combine both types of light sources.
1. Natural Light:
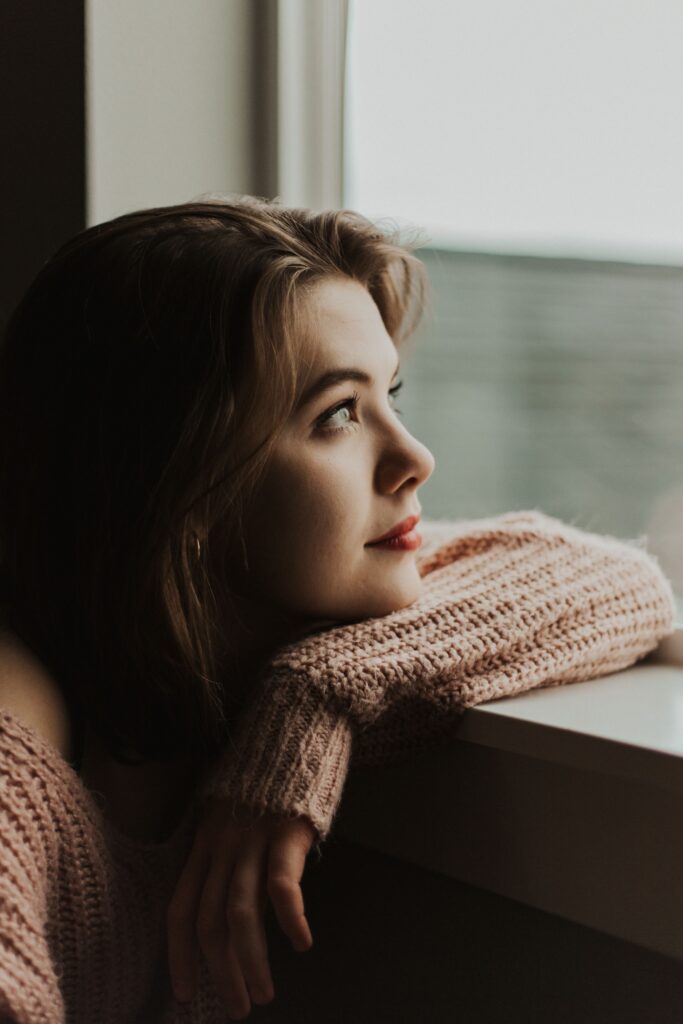
Natural light refers to the light that is already present in the environment, such as sunlight or moonlight.
Preferred by photographers for its soft and flattering qualities. It includes:
– Golden hour: The period shortly after sunrise or before sunset, when the sun is low in the sky, produces a warm and diffused light that is particularly desirable for portraits.
– Window light: When shooting indoors, natural light coming through a window can create beautiful and even lighting on the subject.
– Diffused light: On cloudy or overcast days, the clouds act as a natural diffuser, softening the light and reducing harsh shadows.
2. Artificial Light:
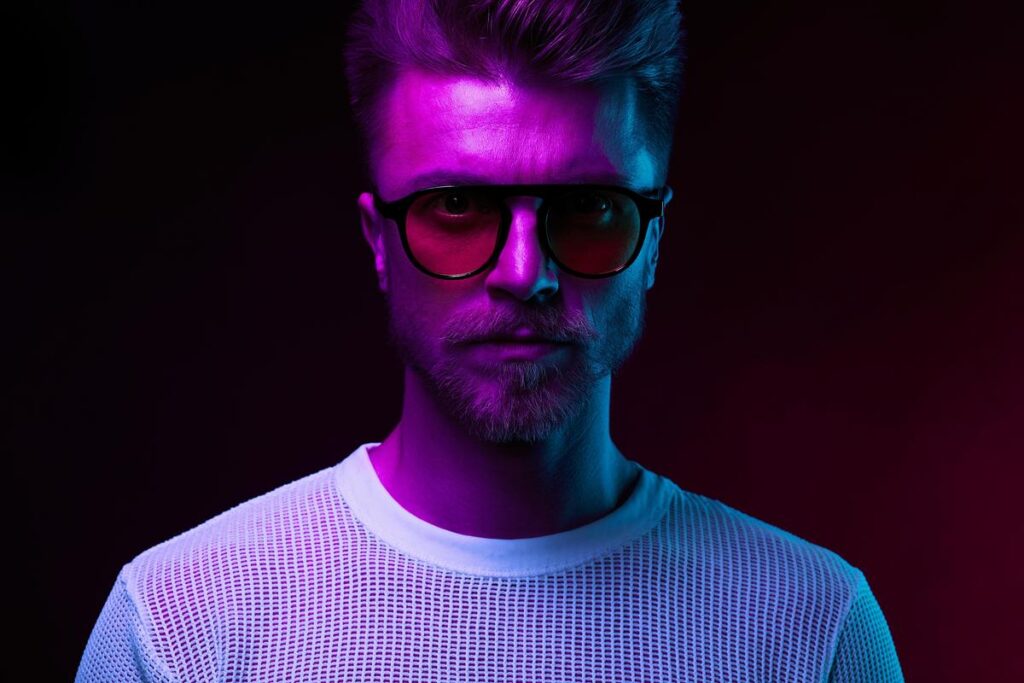
Artificial light encompasses any light source that is not naturally occurring, such as studio lights, on-camera flash, or continuous LED lights. It can be:
– Studio lights: Typically used in a controlled environment, studio lights allow photographers to have complete control over the intensity, direction, and quality of light. Common types include strobe lights and constant lights.
– On-camera flash: Built-in or external flashes used to provide additional illumination when natural light is insufficient, or to create a specific lighting effect. However, direct flash can create harsh shadows and unflattering highlights if not diffused properly.
– Continuous lights: Constant light sources – used for both photography and videography. LED panels are a popular choice for portrait photography as they offer adjustable color temperature and are relatively easy to work with.
Both natural and artificial light are creatively used to achieve different moods and effects in portrait photography. Experienced photographers often combine different types of light sources to create the desired lighting setup for their portraits.
Portrait Lighting Patterns: Mastering Emotions
Portrait lighting patterns are the blueprints that dictate how light falls on a subject’s face. These patterns sculpt features, create dimension, and set the mood for the portrait. Let’s delve into some common yet potent lighting patterns:
1. Rembrandt Lighting – Portrait Lighting
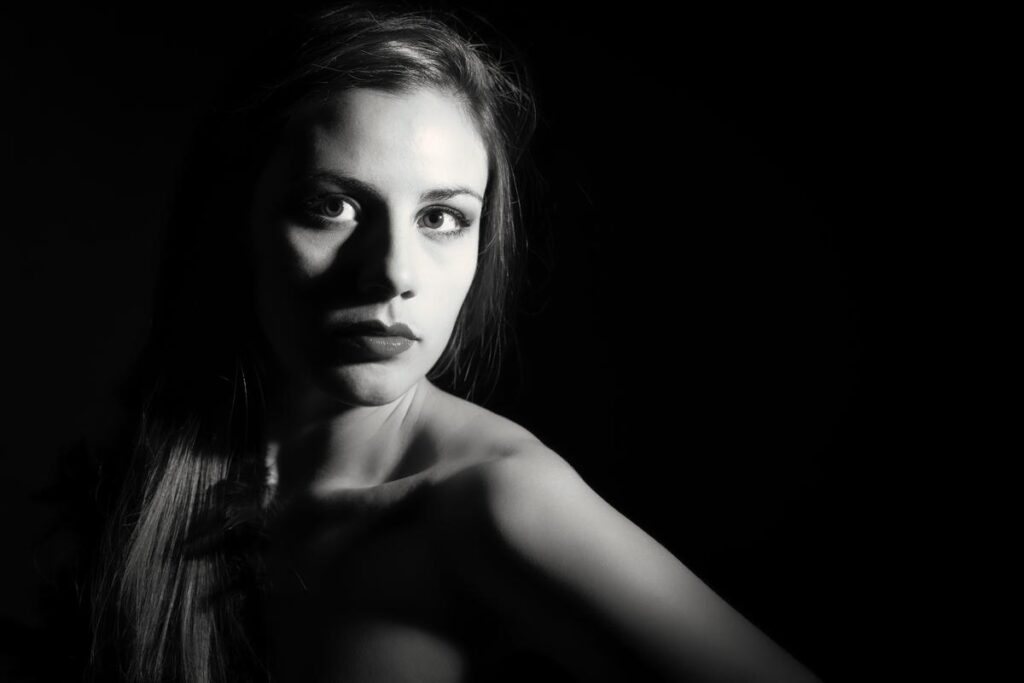
In the realm of portrait photography, the mastery of various lighting techniques is akin to wielding an artist’s brush on a canvas. Among these techniques, Rembrandt lighting stands as a testament to the power of light to create depth, drama, and emotion in a portrait.
You make also like to read about Secret Weapon for Stunning Portraits: Harnessing the Power of Window Light!
Rembrandt lighting derives its name from the renowned Dutch painter Rembrandt Harmenszoon van Rijn, known for his masterful use of light and shadow in his portraits and paintings. This technique is characterized by a small, triangular area of light that forms on the shadowed side of the subject’s face. To achieve this iconic lighting, certain elements and equipment are essential.
- One Light, One Source: Rembrandt lighting, at its core, relies on a single light source. This simplicity doesn’t diminish its impact; in fact, it elevates the drama and intensity of the portrait.
- Position of the Light: Place the light source at a 45-degree angle to the subject and slightly above eye level. This placement creates shadows on the side of the face that isn’t directly lit, forming the characteristic triangle of light under the eye.
- Triangle of Light: The defining feature of Rembrandt lighting is the triangle of light that appears on the subject’s cheek on the shadowed side. This triangle should ideally reach from the corner of the eye to the top of the cheekbone.
- Creating Depth: Rembrandt lighting excels at adding depth to portraits. By casting the opposite side of the face into shadow, it carves out the subject’s features and brings a three-dimensional quality to the image.
- Subtle Shadows: The shadows created by Rembrandt lighting are soft and gradual, enhancing the overall appeal of the portrait. The transition from light to shadow is smooth and flattering.
- Flattering Light: Rembrandt lighting is particularly flattering, as it emphasizes the cheekbones and contours of the face while gently obscuring imperfections.
- Enhanced Dramatic Effect: This technique is well-suited for portraits with a touch of drama or gravitas. It’s often chosen for character portraits, as it imparts a sense of mystery and depth to the subject.
- Essential Lighting Gear: To create Rembrandt lighting, you can use various lighting equipment, including studio lights, softboxes, or even window light. The key is to position the light source correctly.
- Common Variations: While Rembrandt lighting is characterized by a 45-degree angle of light, there are variations. Adjusting the angle and height of the light source can produce subtle differences in the resulting portrait.
- Combining with Other Techniques: Rembrandt lighting can be combined with other lighting techniques, such as rim light or reflectors, to achieve specific artistic effects.
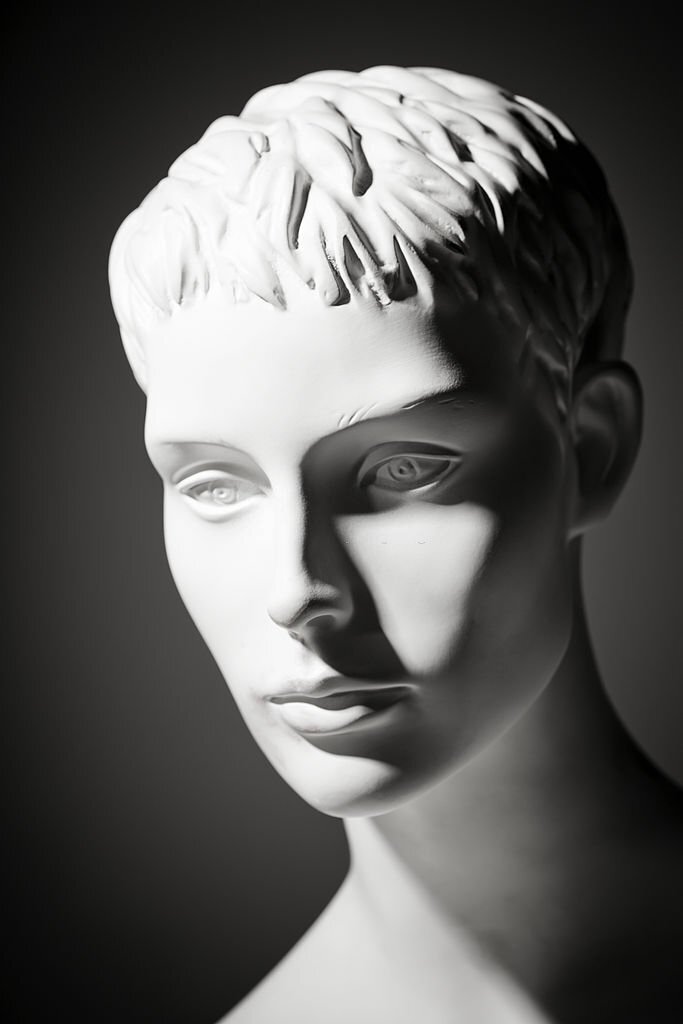
In conclusion, Rembrandt lighting is a hallmark of masterful portrait photography. It harnesses the interplay of light and shadow to sculpt the subject’s features and evoke emotion in the viewer. Understanding the fundamentals of this technique, such as the placement of the light source and the creation of the triangle of light, is essential for any portrait photographer looking to take their craft to the next level.
2. Loop Lighting – Portrait Lighting
Loop lighting is a technique that can add a touch of elegance and refinement to your subjects. This method is characterized by a subtle loop-shaped shadow that appears on the subject’s cheek opposite the key light source. Loop lighting is renowned for its ability in creating flattering and dimensional portraits.
Key Elements of Loop Lighting:
- Single Light Source: Loop lighting typically involves a single key light source. This light is usually positioned at a 30 to 45-degree angle from the camera and slightly above the subject’s eye level.
- Subtle Shadow Play: The hallmark of loop lighting is the gentle loop-shaped shadow that forms on the subject’s cheek. This shadow extends from the nose to the corner of the mouth, creating a sense of depth without being overly dramatic.
- Flattering and Versatile: Loop lighting is known for its flattering qualities. It softens facial features and conceals imperfections while adding a touch of sophistication to the portrait. It’s a versatile choice for various subjects and genres, from corporate headshots to fashion photography.
- Setup Adjustments: The size and position of the loop can be adjusted by moving the light source closer or farther from the subject and altering its height. These adjustments allow photographers to fine-tune the mood and style of the portrait.
- Portrait Photography Lighting: Loop lighting is often used in portrait photography setups, particularly in studio environments. However, it can also be achieved using natural light sources like window light.
- Enhancing Depth: Like other lighting techniques, loop lighting enhances the depth and dimension of the subject’s face. It helps to sculpt the facial features, adding a touch of three-dimensionality to the image.
Practical Tips for Achieving Loop Lighting:
- Position the light source at a 30 to 45-degree angle from the camera.
- Slightly elevate the light source above the subject’s eye level.
- Pay attention to the size and shape of the loop to achieve the desired effect.
- Loop lighting is well-suited for both traditional and contemporary portrait styles.
- Experiment with different light modifiers to control the softness of the shadows.
In summary, loop lighting is a portrait photographer’s ally in creating elegant and refined images. Its soft and subtle shadow play adds depth and sophistication to portraits while flattering the subject. Understanding the key elements and techniques of loop lighting can help photographers harness its potential and elevate their craft.
3. Butterfly Lighting – Portrait Lighting
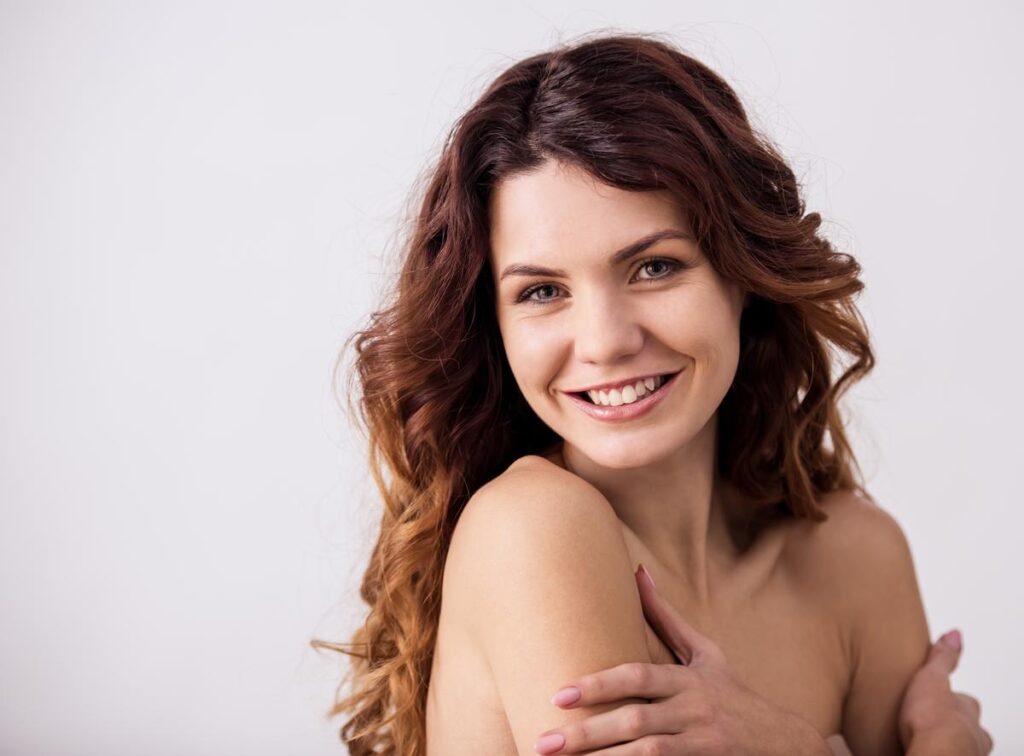
Butterfly lighting is a portrait lighting technique that adds a touch of grace and sophistication to your subjects. This method is named after the soft, butterfly-shaped shadow it creates under the subject’s nose. This is a classic method that has been favored by portrait photographers for decades and produces flattering and timeless results.
Key Elements of Butterfly Lighting:
- Frontal Lighting: Butterfly lighting involves positioning the key light source directly in front of the subject. This frontal illumination results in even and balanced light across the face.
- Gentle Shadow: The defining feature of butterfly lighting is the delicate, butterfly-shaped shadow that forms beneath the subject’s nose. This shadow adds depth and dimension to the portrait without being overly dramatic.
- Flattering Effect: Butterfly lighting is renowned for its flattering qualities. It softens facial features and minimizes imperfections, making it an excellent choice for portrait subjects who want to look their best.
- Versatile and Timeless: Butterfly lighting is versatile and can be used in various portrait styles, from classic to contemporary. It’s a timeless approach that never goes out of style.
Practical Tips for Achieving Butterfly Lighting:
- Position the key light source directly in front of the subject, slightly above eye level.
- Use a softbox or diffuser to create soft, even light.
- Pay attention to the placement of the shadow under the nose to achieve the butterfly shape.
- Butterfly lighting can be complemented with fill lights or reflectors to further control shadows.
In summary, butterfly lighting is a classic and versatile technique that enhances the grace and elegance of portrait photography. Its even illumination and soft, butterfly-shaped shadow create timeless and flattering results. Understanding the key elements and techniques of butterfly lighting can help photographers elevate their craft and capture portraits that truly soar.
4. Split Lighting – Portrait Lighting
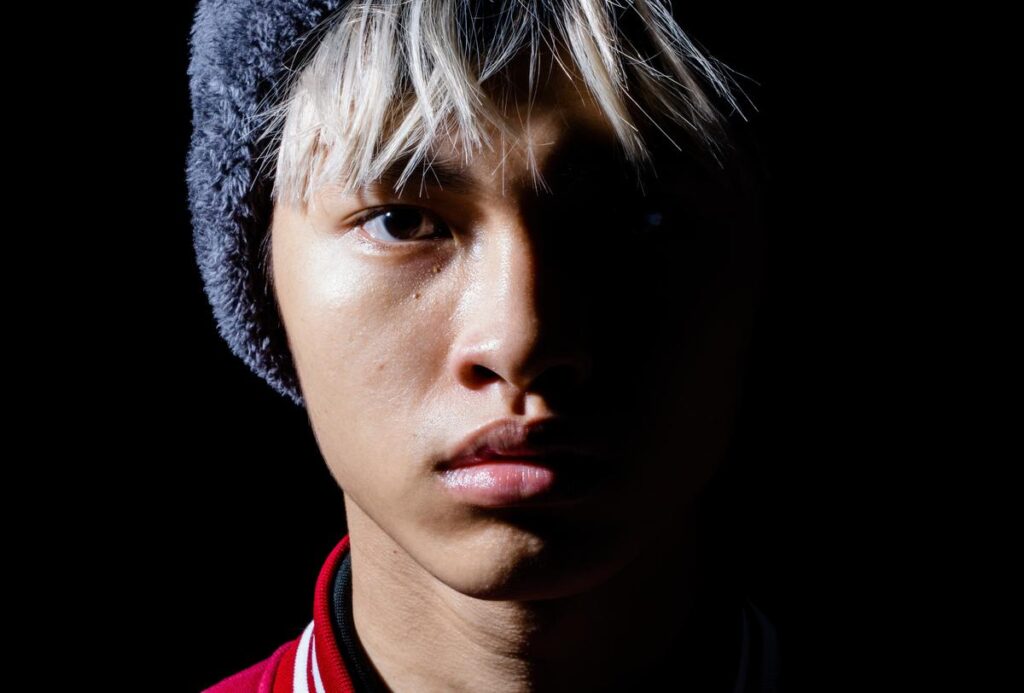
Split lighting is a versatile technique used in photography, where the subject’s face is evenly divided into light and shadow. This approach creates a striking and dramatic effect, adding depth and dimension to the image. To achieve split lighting, position the light source, often a softbox or studio light, directly to one side of the subject, so it illuminates one half of their face while leaving the other half in shadow. This stark contrast between light and shadow emphasizes facial features, resulting in a captivating portrait.
This technique is particularly effective when you want to create a sense of mystery or add an element of storytelling to your photographs. The side of the face touched by light becomes the focal point, drawing the viewer’s attention and leaving them curious about the hidden side. Split lighting is often used in portrait photography, as it can accentuate the subject’s facial structure, highlight details, and convey a wide range of emotions.
To master split lighting, it’s essential to experiment with the position and intensity of the light source. You can adjust the angle of the light to control the size and shape of the shadow on the subject’s face. Additionally, varying the distance between the light source and the subject can help you fine-tune the effect. Understanding the interplay of light and shadow is crucial for achieving the desired mood and visual impact in your photographs.
Are Two Lights Are Better Than One? Key Light & Fill Light
Why Use Two Lights?
Incorporating a second light source into your portrait setup unlocks a realm of creative possibilities. It enables precise control over the ratio of light illuminating the subject, permitting the sculpting of features and the introduction of captivating highlights and shadows.
Key Light and Fill Light
In a dual-light setup, the key light serves as the primary illumination source, highlighting the subject. The fill light complements the key light by reducing shadows and ensuring even lighting. By adjusting the intensity and positioning of these lights, you can achieve a wide array of lighting effects.
Tips for Achieving the Best Lighting: Crafting the Perfect Portrait
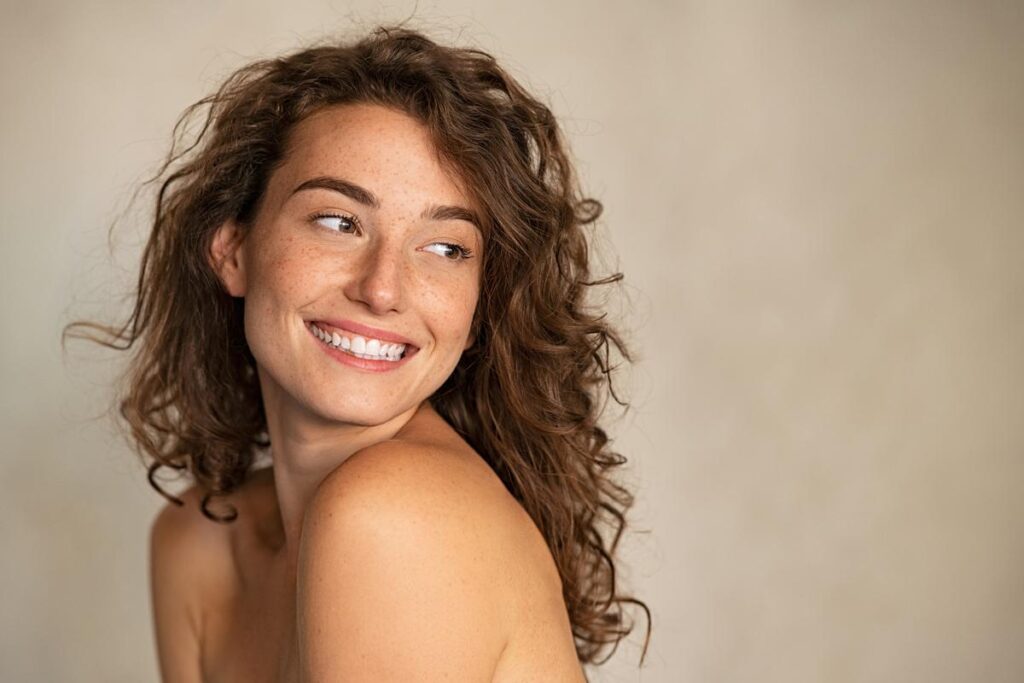
Achieving the best lighting in portrait photography is essential for capturing stunning and compelling images. Lighting plays a pivotal role in shaping the mood, highlighting details, and conveying the subject’s personality. Here are some valuable tips to help you master the art of lighting in portrait photography:
Understand Your Light Sources:
Whether you’re working with natural light, studio lights, or a combination of both, it’s crucial to understand how each light source behaves. Natural light offers a soft and flattering illumination, while studio lights provide control over intensity and direction. Familiarize yourself with the strengths and limitations of each source to choose the right one for your desired outcome.
Consider the Time of Day:
When shooting outdoors, the time of day greatly impacts the quality of light. The golden hours, typically the first and last hours of daylight, offer warm, diffused light that’s ideal for portraits. Midday sun can be harsh and lead to unflattering shadows, so plan your shoots accordingly.
Modify Your Light:
Whether you’re using natural or artificial light, modifiers like softboxes, umbrellas, and reflectors can help you control and shape the light. Soft modifiers diffuse light, creating gentle shadows and reducing harsh contrasts. Reflectors bounce light back onto your subject, filling in shadows and adding a pleasing catchlight to the eyes.
Experiment with Lighting Setups:
There are various lighting setups in portrait photography, such as Rembrandt, butterfly, and split lighting. Experiment with different setups to achieve the mood and style you want for your portraits. Each setup produces unique highlights and shadows, so explore them to find your preferred aesthetic.
Consider Your Subject’s Features:
The subject’s facial features and bone structure should guide your lighting choices. For instance, Rembrandt lighting works well for subjects with well-defined cheekbones, while butterfly lighting can soften facial features. Tailor your lighting setup to enhance your subject’s best qualities.
Use a Light Meter:
A light meter helps you accurately measure the intensity of light falling on your subject. It ensures proper exposure and consistency across your shots, particularly when working in a studio with multiple lights. This tool is invaluable for achieving technically sound portraits.
Practice and Patience:
Mastery of portrait lighting takes practice and patience. Don’t be afraid to experiment, make mistakes, and learn from them. Over time, you’ll develop an intuitive sense of how to use light to create visually stunning and emotionally resonant portraits.
EQUIPMENTs needed for Best Lighting in Portrait Photography
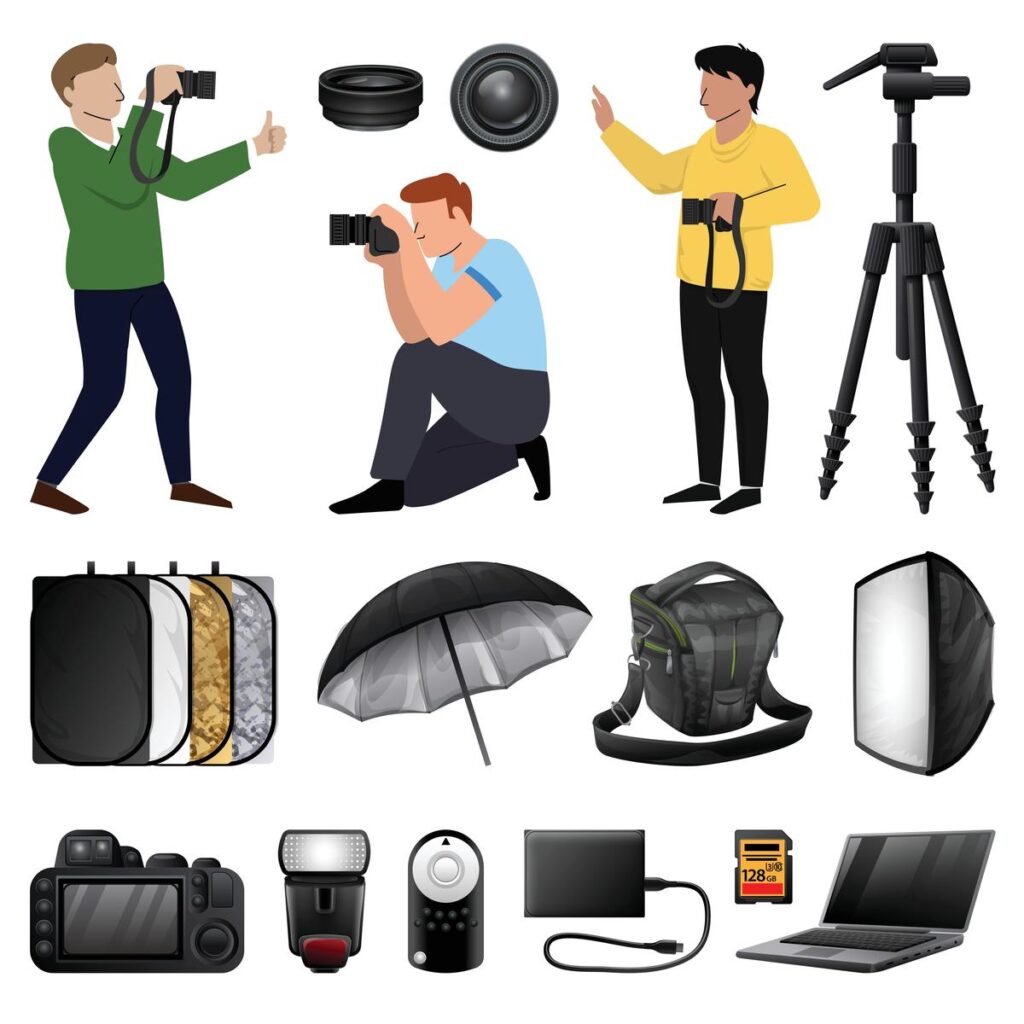
To achieve the best lighting in portrait photography, having the right equipment is crucial. The choice of gear can significantly impact the quality and versatility of your lighting setup. Here are some essential pieces of equipment you’ll need:
Camera:
While not directly a lighting equipment, a high-quality camera is the foundation of portrait photography. Opt for a DSLR or mirrorless camera with manual settings, as they offer greater control over exposure and focus.
Lenses:
Invest in a selection of lenses, including prime and zoom lenses, to accommodate different shooting scenarios. Prime lenses with wide apertures (e.g., f/1.8 or f/1.4) are excellent for achieving a shallow depth of field and beautiful background blur (bokeh).
Tripod:
A sturdy tripod is essential, especially when working with slow shutter speeds or during studio sessions where stability is critical. It ensures sharp and consistent shots.
Light Sources:
Depending on your preference, you can choose between natural light, speedlights, strobes, or continuous lighting sources. Studio strobes provide consistent and powerful illumination, while speedlights are more portable and versatile for on-location shoots.
Modifiers:
Light modifiers, such as softboxes, umbrellas, and beauty dishes, help control and shape the quality of light. They diffuse and spread light evenly, reducing harsh shadows and creating a flattering glow on your subject.
Reflectors:
Reflectors bounce light back onto your subject to fill in shadows and add highlights. They come in various sizes and colors, including silver, gold, and white, each producing a different effect.
Light Stands:
Sturdy light stands are essential to support your lighting equipment and keep them in the desired positions. They should be adjustable in height and easy to maneuver.
Wireless Triggers:
These devices allow you to remotely trigger your off-camera flashes or strobes, offering flexibility in your shooting setup. They help maintain a clean, uncluttered environment around your subject.
Light Meters:
A light meter measures the intensity of light falling on your subject, ensuring precise exposure. This tool is especially useful in studio setups with multiple lights.
Backgrounds:
Depending on your creative vision, you may need various backdrop options. Seamless paper, muslin, or collapsible backgrounds provide versatility and enable you to create different moods and aesthetics.
Gels and Filters:
Color gels and diffusion filters can be placed in front of your lights for achieving various color temperatures and lighting effects. They add creative flexibility to your setup.
Camera Bags and Cases:
To protect your gear and keep it organized, invest in high-quality camera bags and cases. They make transporting and storing your equipment more convenient and safe.
Lighting Accessories:
Don’t forget to stock up on essential accessories like spare batteries, memory cards, and cleaning kits to ensure smooth and uninterrupted shooting sessions.
Conclusion
Mastering portrait lighting patterns is a nuanced art that demands practice, experimentation, and a discerning eye. As you venture deeper into the realm of portrait photography, remember that there are no strict rules—each portrait is a canvas, and you, the artist, wield light as your brush. Whether you aim to capture the soulful gaze of a loved one or the striking features of a model, your proficiency in harnessing light will be the guiding force in your journey towards portrait photography excellence.
Key Takeaways:
- Light is the lifeblood of portrait photography, shaping emotions and aesthetics.
- Portrait lighting patterns like Rembrandt, Loop, and Butterfly add depth and drama.
- Two-light setups provide creative control over highlights and shadows.
- Experiment with light source positioning and embrace shadows for captivating portraits.
- Balance natural and artificial light to adapt to diverse shooting scenarios.


