How to Create Stunning Cityscapes at Night | Cityscape Night Photography
Cityscapes are one of the most popular subjects for photographers, especially at night. The city lights, the architecture, the traffic, and the atmosphere create a dynamic and captivating scene that can be challenging but rewarding to capture. In this blog post, you will learn some tips and tricks on how to photograph cityscapes at night, from choosing the best time and location, to setting up your camera and editing your images. Whether you are a beginner or an expert, you will find something useful and inspiring in this guide.
Why Shoot Cityscapes at Night?
You might wonder why you should shoot cityscapes at night, when there is less light and more difficulty. The answer is simple: because they look amazing! Night photography can transform a cityscape into a magical and surreal landscape, with glowing colors, dramatic contrasts, and stunning details. You can also create interesting effects with long exposure, such as light trails, starbursts, and motion blur. Shooting cityscape at night can also help you avoid crowds, find new perspectives, and challenge your creativity.
When is the Best Time to Shoot Cityscapes at Night?
The best time to shoot at night is not when it is completely dark, but when there is still some ambient light in the sky. This is called the blue hour, and it usually occurs after sunset or before sunrise. The blue hour provides a beautiful backdrop for the city lights, creating a balanced and harmonious exposure. It also adds some color and mood to your images, making them more appealing and atmospheric.
To find out when the blue hour occurs in your location, you can use an app or a website like The Photographer’s Ephemeris or Blue Hour Site. They will show you the exact time and duration of the blue hour for any date and place. You can also use them to plan your shooting location and direction according to the sun and moon position.
How to Choose a Location for Night Cityscape Photography?
Choosing a good location for cityscape photography at night is crucial for getting stunning images. You want to find a spot that offers a clear and interesting view of the city skyline, the landmarks, the bridges, or any other feature that catches your eye. You also want to consider the direction of the light, the traffic, and the composition.
Some of the best locations for cityscape photography at night are:
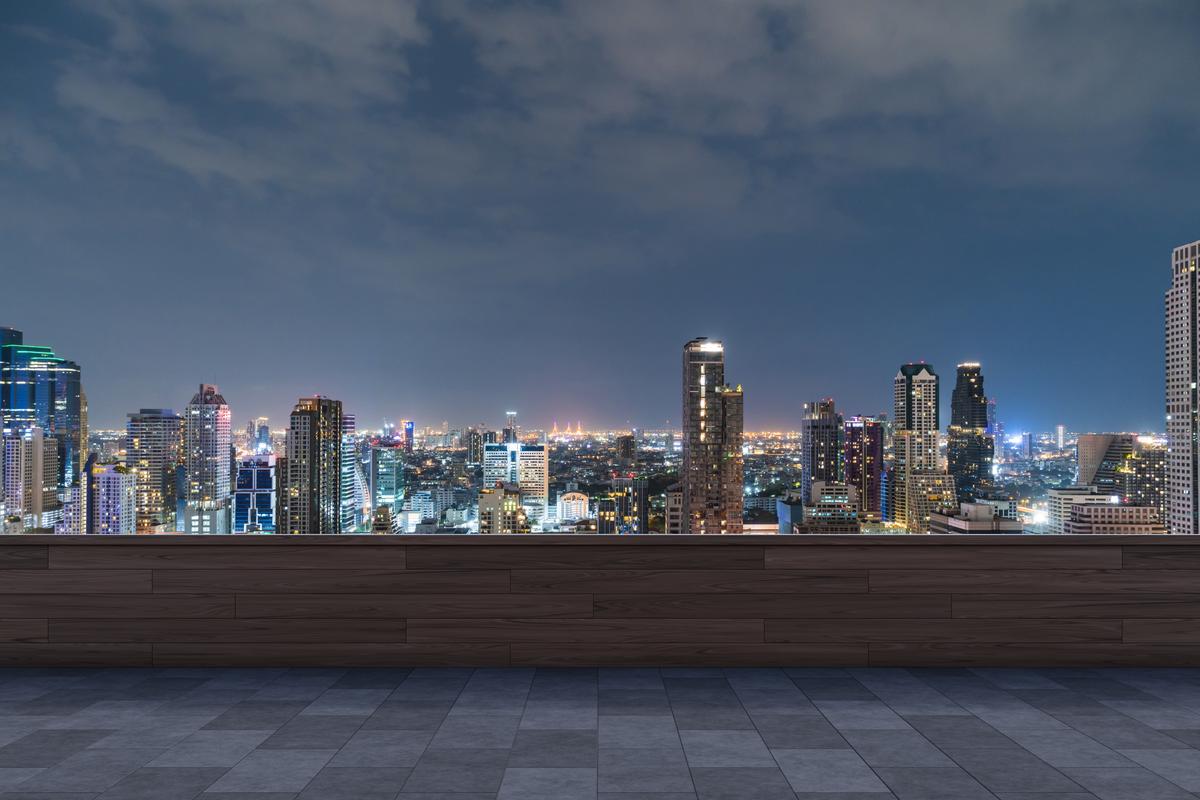
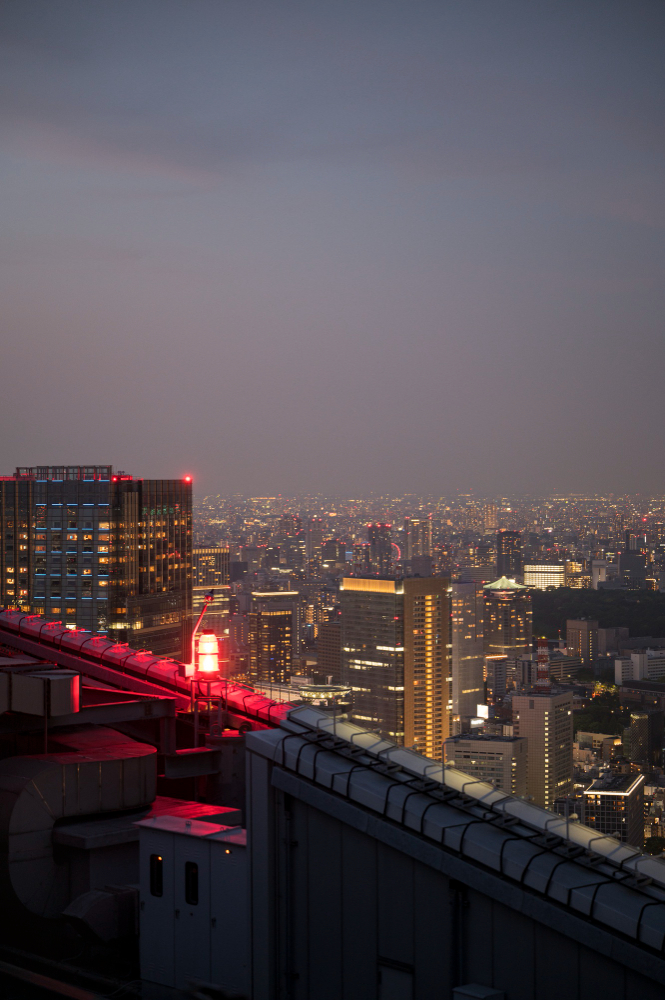
Rooftops:
Rooftops can give you a high and wide-angle perspective of the cityscape, making it look more impressive and dramatic. You can also capture some amazing reflections on the glass windows of the buildings. However, not all rooftops are accessible or safe, so make sure you have permission and take precautions before going up there.
Hills:
Hills can also provide a high vantage point for cityscape photography at night, but with a more natural and scenic background. You can also use the hills as foreground elements to add depth and interest to your images. However, hills can be far from the city center, so you might need a car or public transportation to get there.
Bridges:
Bridges are great locations for cityscape photography at night because they offer a close and dynamic view of the city lights and the water. You can also use them as leading lines or frames for your composition. However, bridges can be crowded, noisy, and windy, so you might need to be patient and careful while shooting there.
Waterfronts:
Waterfronts are another excellent option for cityscape photography at night because they allow you to capture reflections of the city lights on the water surface. You can also use boats, piers, docks, or fountains as foreground elements to create more interest and contrast in your images. However, waterfronts can be dark and cold at night, so you might need to bring extra layers and a flashlight.
What Equipment Do You Need for Cityscape Photography at Night?
To photograph cityscapes at night, you don’t need a lot of equipment, but you do need some essential items that will help you get sharp and well-exposed images. Here are some of them:
Camera:
You can use any camera that has manual mode and allows you to adjust the exposure settings (aperture, shutter speed, ISO). However, a camera with a large sensor (full-frame or APS-C) will perform better in low-light situations than a camera with a small sensor (micro four thirds or compact). A camera with a high ISO range will also help you capture more details in dark areas without introducing too much noise.
Lens:
You can use any lens that suits your vision and style for cityscape photography at night. However, a wide-angle lens (between 14mm and 35mm) will allow you to capture more of the scene and create a sense of scale and depth. A fast lens (with an aperture of f/2.8 or wider) will also let in more light and enable you to use faster shutter speeds or lower ISOs, resulting in sharper and cleaner images.
Tripod:
A tripod is a must-have for cityscape photography at night, as it will stabilize your camera and prevent camera shake, which can ruin your images. A tripod will also allow you to use slow shutter speeds, which are necessary for creating long exposure effects, such as light trails, starbursts, and motion blur. A sturdy and reliable tripod is recommended, as it will withstand the wind and the weight of your camera and lens.
Remote Trigger:
A remote trigger is a device that allows you to trigger the shutter of your camera without touching it, which can also cause camera shake. You can use a wireless remote, a cable release, or even your smartphone as a remote trigger. Alternatively, you can use the self-timer function of your camera, which will delay the shutter release by a few seconds after you press the button.
Filters:
Filters are optional accessories that can enhance or modify the light and colors in your images. For cityscape photography at night, you might want to use a polarizing filter, which can reduce glare and reflections from glass windows or water surfaces. You might also want to use a neutral density filter, which can reduce the amount of light entering your lens and allow you to use longer shutter speeds or wider apertures.
How to Set Up Your Camera for Night Cityscape Photography?
Setting up your camera for cityscape photography at night can be tricky, as you have to balance the exposure between the bright city lights and the dark sky. Here are some tips on how to set up your camera for cityscape photography at night:
Mode:
The best mode to use for cityscape photography at night is manual mode (M), as it gives you full control over the exposure settings. However, if you are not comfortable with manual mode, you can also use aperture priority mode (A or Av), which lets you choose the aperture and automatically adjusts the shutter speed accordingly.
Aperture:
The aperture is the opening of the lens that controls how much light enters your camera. The aperture also affects the depth of field, which is the range of distance that appears sharp in your image. For cityscape photography at night, you want to use a small aperture (between f/8 and f/16), which will give you a large depth of field and make everything in focus. A small aperture will also create starburst effects around the city lights, which can add some sparkle and interest to your images.
Shutter Speed:
It is the duration of time that the shutter of your camera stays open and exposes the sensor to light. This also affects the motion in your image, which can be frozen or blurred depending on how fast or slow it is. For cityscape photography at night, you want to use a slow shutter speed (between 1 second and 30 seconds), which will create long exposure effects, such as light trails from moving cars or boats, or motion blur from clouds or water. A slow speed will also allow more light to enter your camera and brighten up the dark areas of your image.
ISO:
The ISO is the sensitivity of your camera’s sensor to light. The ISO also affects the noise in your image, which is the grainy or pixelated appearance that reduces the quality and clarity of your image. For cityscape photography at night, you want to use a low ISO (between 100 and 400), which will produce less noise and more details in your image. However, if your image is too dark even with a slow shutter speed and a small aperture, you might need to increase the ISO slightly (up to 800 or 1600) to boost the exposure.
White Balance:
The white balance is the color temperature of your image, which can be warm (yellowish) or cool (bluish) depending on the type of light source. The white balance also affects the mood and atmosphere of your image, which can be cozy or cold depending on how warm or cool it is. For cityscape photography at night, you can either use auto white balance (AWB), which will adjust the color temperature automatically according to the scene, or manual white balance (WB), which will let you choose a preset or custom value according to your preference.
How to Compose Your Cityscape Photos at Night?
Composing your cityscape photos at night is an important part of creating stunning images that capture the essence and beauty of the city.
Here are some tips on how to compose your cityscape photos at night:
Rule of Thirds:
The rule of thirds is a basic composition technique that divides your image into nine equal parts using two horizontal and two vertical lines. The rule of thirds suggests that you place the main subject or point of interest along one of these lines or at one of the four intersections, also known as the power points. This will create a balanced and pleasing composition that draws the viewer’s attention to the most important part of your image.
Leading Lines:
Leading lines are lines or shapes that guide the viewer’s eye towards the main subject or point of interest in your image. These can be roads, bridges, rivers, buildings, or any other element that creates a sense of direction and movement in your image. Leading lines can also create depth and perspective in your image, making it look more three-dimensional and dynamic.
Foreground Interest:
Foreground interest is anything that you place in the front part of your image that adds some detail, contrast, or context to your image. It can be people, cars, boats, signs, statues, or any other object that relates to the cityscape and creates a sense of scale and connection. Foreground interest can also help you frame your image and create a more interesting and complex composition.
Symmetry:
Symmetry is a composition technique that creates a mirror image of your scene along a vertical or horizontal axis. It can create a sense of harmony, balance, and order in your image, making it look more elegant and refined. Symmetry can also emphasize the shape and structure of the cityscape, making it look more geometric and abstract. You can use water surfaces, glass windows, or any other reflective surface to create symmetry in your image.
How to Edit Your Cityscape Photos at Night?
Editing your cityscape photos at night is an essential step to enhance and polish your images. Editing can help you correct any exposure or color issues, adjust the contrast and sharpness, crop and straighten your images, and apply any creative effects or filters.
You can use any software or app that you are comfortable with, such as Lightroom, Photoshop, Snapseed, or VSCO. Here are some tips on how to edit your cityscape photos at night:
Exposure:
Exposure is the brightness or darkness of your image. You can use the exposure slider to adjust the overall exposure of your image, making it brighter or darker according to your preference. You can also use the highlights and shadows sliders to adjust the exposure of the brightest and darkest areas of your image separately, creating a more balanced and realistic exposure.
White Balance:
White balance is the color temperature of your image, which can be warm (yellowish) or cool (bluish) depending on the type of light source. You can use the white balance slider to adjust the color temperature of your image, making it warmer or cooler according to your preference. You can also use the tint slider to adjust the color cast of your image, making it more magenta or green according to your preference.
Contrast:
Contrast is the difference between the light and dark areas of your image. You can use the contrast slider to adjust the contrast of your image, making it more or less contrasty according to your preference. You can also use the clarity slider to adjust the micro-contrast of your image, making it more or less crisp and detailed according to your preference.
Saturation:
Saturation is the intensity or purity of the colors in your image. You can use the saturation slider to adjust the saturation of your image, making it more or less colorful according to your preference. You can also use the vibrance slider to adjust the saturation of the muted colors in your image separately, creating a more natural and balanced saturation.
Sharpness:
Sharpness is the amount of detail and definition in your image. You can use the sharpening slider to adjust the sharpness of your image, making it more or less sharp according to your preference. You can also use the noise reduction slider to reduce any noise or grain in your image caused by high ISO or low light conditions, creating a smoother and cleaner image.
Summary
Cityscape photography at night is a fun and rewarding genre that can produce stunning images with amazing effects. To photograph cityscapes at night, you need to:
- Choose the best time (blue hour) and location (rooftops, hills, bridges, waterfronts) for shooting
- Use a camera with manual mode and a large sensor
- Use a wide-angle lens with a fast aperture
- Use a tripod and a remote trigger
- Use a small aperture (f/8-f/16) and a slow shutter speed (1s-30s)
- Use a low ISO (100-400) and manual white balance
- Compose your images using rule of thirds, leading lines, foreground interest, and symmetry
- Edit your images using exposure, white balance, contrast, saturation, and sharpness sliders
By following these tips and tricks, you will be able to create stunning photographs that will impress yourself and others. Happy shooting!
Frequently Asked Questions (FAQs)
What is night photography?
Night photography is a genre of photography that involves taking photos in low-light conditions, typically after sunset or before sunrise. This can create stunning images with amazing effects, such as light trails, starbursts, and motion blur.
How do I adjust the exposure for night photography?
Exposure is the brightness or darkness of your image, which depends on three factors: aperture, shutter speed, and ISO. To adjust the exposure, you need to use manual mode or aperture priority mode, and set a small aperture (f/8-f/16), a slow shutter speed (1s-30s), and a low ISO (100-400). You can also use the histogram to check the exposure level and avoid overexposing or underexposing your image.
What is bracketing and why should I use it for night photography?
Bracketing is a technique that involves taking multiple photos of the same scene with different exposure settings, such as shutter speed, aperture, or ISO. Bracketing can help you capture the full dynamic range of the scene, which is the difference between the brightest and darkest areas. You can then merge the bracketed photos in post-processing using a software like Lightroom or Photoshop, and create a high dynamic range (HDR) image.
How do I choose the ISO for night photography?
ISO is the sensitivity of your camera’s sensor to light. The higher the ISO, the brighter your image will be, but also the more noise or grain it will have. The lower the ISO, the darker your image will be, but also the less noise or grain it will have. To choose the required ISO, you need to balance the brightness and quality of your image. You should start with a low ISO (100-400) and increase it slightly if your image is too dark. However, you should avoid using a very high ISO (above 1600) as it will reduce the details and clarity of your image.
How do I use long exposure for night photography?
Long exposure is a technique that involves using a slow shutter speed to capture more light and create motion effects in your image. To use long exposure, you need to use a tripod and a remote trigger to stabilize your camera and prevent camera shake. You also need to set a small aperture (f/8-f/16) and a low ISO (100-400) to balance the exposure. You can then choose the shutter according to the type of effect you want to create. For example, you can use a shutter speed of 1-5 seconds to create light trails from moving cars or boats, or of 10-30 seconds to create motion blur from clouds or water.
What are some photography tips for shooting night cityscapes?
Some photography tips for shooting night cityscapes are:
- Shoot during the blue hour, which is the time after sunset or before sunrise when there is still some ambient light in the sky.
- Choose a location that offers a clear and interesting view of the city skyline, landmarks, bridges, or water.
- Use a wide-angle lens with a fast aperture to capture more of the scene and let in more light.
- Use manual focus or live view to focus accurately on your subject.
- Use a polarizing filter or a neutral density filter to reduce glare and reflections from glass windows or water surfaces.
- Use post-processing software like Lightroom or Photoshop to enhance and polish your images.
How do I create stunning night cityscapes with luminosity masks?
Luminosity masks are tools that allow you to select and adjust specific tonal ranges in your image, such as highlights, midtones, or shadows. Luminosity masks can help you create stunning night cityscapes by allowing you to blend multiple exposures, adjust contrast and colors, and bring out details in dark areas.
To create stunning night cityscapes with luminosity masks, you need to use a software like Photoshop that supports layer masks and adjustment layers. You can then create luminosity masks using channels or plugins like Lumenzia or Raya Pro. You can then apply adjustments to each luminosity mask according to your preference.
How do I shoot street photography at night?
Street photography is a genre of photography that involves capturing candid moments of people and culture in public places. Street photography at night can be challenging but rewarding, as it can capture the mood and atmosphere of the city. To shoot street photography at night, you need to:
- Use a fast lens with a wide aperture (f/2.8 or wider) to let in more light and create a shallow depth of field.
- Use a higher ISO (800-1600) to boost the exposure and freeze the motion of your subjects.
- Use autofocus or pre-focus on your subject using zone focusing or hyperfocal distance techniques.
- Use handheld mode or a monopod to move around quickly and discreetly.
- Look for interesting light sources, such as neon signs, street lamps, or car headlights.
- Look for interesting subjects, such as people, animals, or objects that tell a story or show emotion.
How do I photograph cityscapes at night with a single exposure?
Photographing with a single exposure is a technique that involves using a slow shutter speed to capture the light and motion of the city in one shot. This can create stunning images with light trails, starbursts, and motion blur, without the need for bracketing or blending. To photograph cityscapes at night with a single exposure, you need to:
- Use a tripod and a remote trigger to stabilize your camera and prevent camera shake.
- Use a small aperture (f/8-f/16) and a low ISO (100-400) to balance the exposure.
- Choose a shutter speed according to the type of effect you want to create. For example, you can use a speed of 1-5 seconds to create light trails from moving cars or boats, or a speed of 10-30 seconds to create motion blur from clouds or water.
- Use manual focus or live view to focus accurately on your subject.
- Use a polarizing filter or a neutral density filter to reduce glare and reflections from glass windows or water surfaces.
- Check the histogram and the LCD screen to make sure your image is not overexposed or underexposed.
How do I photograph night scenes with a slow shutter speed?
Photographing night scenes with a slow shutter speed is a technique that involves using a slow speed to create motion effects in your image, such as light trails, starbursts, and motion blur. To photograph night scenes with a slow speed, you need to:
- Use a tripod and a remote trigger to stabilize your camera and prevent camera shake.
- Use a small aperture (f/8-f/16) and a low ISO (100-400) to balance the exposure.
- Choose a shutter speed according to the type of effect you want to create. For example, you can use a speed of 1-5 seconds to create light trails from moving cars or boats, or a speed of 10-30 seconds to create motion blur from clouds or water.
- Use manual focus or live view to focus accurately on your subject.
- Use a polarizing filter or a neutral density filter to reduce glare and reflections from glass windows or water surfaces.
- Check the histogram and the LCD screen to make sure your image is not overexposed or underexposed.
How do I capture stunning cityscapes at night with multiple exposures?
Capturing stunning cityscapes with multiple exposures is a technique that involves taking multiple photos of the same scene with different exposure settings, such as shutter speed, aperture, or ISO. This can help you capture the full dynamic range of the scene, which is the difference between the brightest and darkest areas.
You can then merge the multiple exposures in post-processing using a software like Lightroom or Photoshop, and create a high dynamic range (HDR) image. To capture stunning cityscapes with multiple exposures, you need to:
- Use a tripod and a remote trigger to stabilize your camera and prevent camera shake.
- Use manual mode or aperture priority mode, and set a small aperture (f/8-f/16) and a low ISO (100-400) to balance the exposure.
- Choose different shutter speeds for each exposure according to the brightness of the scene. For example, you can use a speed of 1 second for the darkest exposure, 5 seconds for the medium exposure, and 15 seconds for the brightest exposure.
- Use manual focus or live view to focus accurately on your subject.
- Use auto exposure bracketing (AEB) or manual exposure bracketing (MEB) to take three or more exposures automatically or manually.
- Use post-processing software like Lightroom or Photoshop to merge the multiple exposures into one HDR image using HDR merge or exposure blending techniques.
How do I photograph cityscapes at night in low light conditions?
Photographing cityscapes at night in low light conditions is a challenge that requires you to use the right equipment and settings to capture enough light and detail in your image. To photograph in low light conditions, you need to:
- Use a camera with a large sensor (full-frame or APS-C) and a high ISO range (up to 1600 or higher) that can perform well in low light situations without introducing too much noise.
- Use a fast lens (with an aperture of f/2.8 or wider) that can let in more light and enable you to use faster shutter speeds or lower ISOs, resulting in sharper and cleaner images.
- Use a tripod and a remote trigger to stabilize your camera and prevent camera shake.
- Use manual mode or aperture priority mode, and set a wide aperture (f/2.8-f/5.6), a slow shutter speed (1s-30s), and a high ISO (800-1600) to balance the exposure.
- Use manual focus or live view to focus accurately on your subject.
- Use a polarizing filter or a neutral density filter to reduce glare and reflections from glass windows or water surfaces.
- Check the histogram and the LCD screen to make sure your image is not overexposed or underexposed.
How do I photograph cityscapes at night with a deep depth of field?
Photographing cityscapes at night with a deep depth of field is a technique that involves using a small aperture (f/8-f/16) to create a large depth of field, which is the range of distance that appears sharp in your image. This can help you make everything in focus, from the foreground to the background, creating a sense of scale and depth. To photograph with a deep depth of field, you need to:
- Use a tripod and a remote trigger to stabilize your camera and prevent camera shake.
- Use manual mode or aperture priority mode, and set a small aperture (f/8-f/16), a slow shutter speed (1s-30s), and a low ISO (100-400) to balance the exposure.
- Use manual focus or live view to focus accurately on your subject.
- Use a polarizing filter or a neutral density filter to reduce glare and reflections from glass windows or water surfaces.
- Check the histogram and the LCD screen to make sure your image is not overexposed or underexposed.